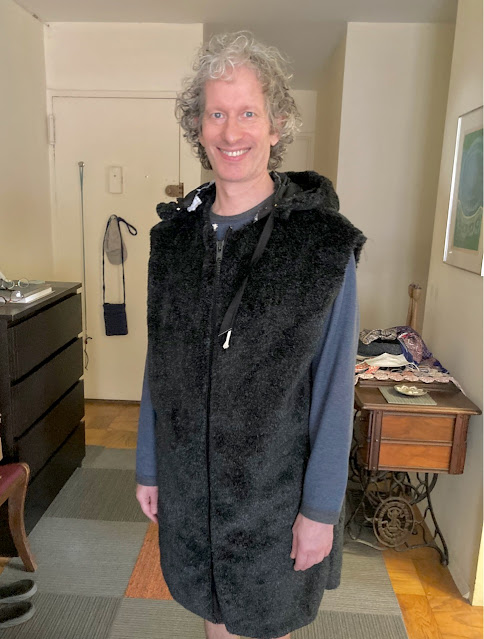
I promised to make Michael a faux fur coat three years ago; it didn't happen but I'm determined to have one ready for his birthday this year.
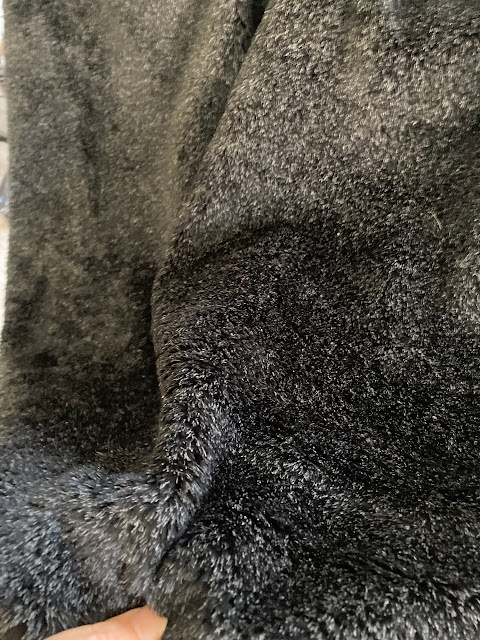
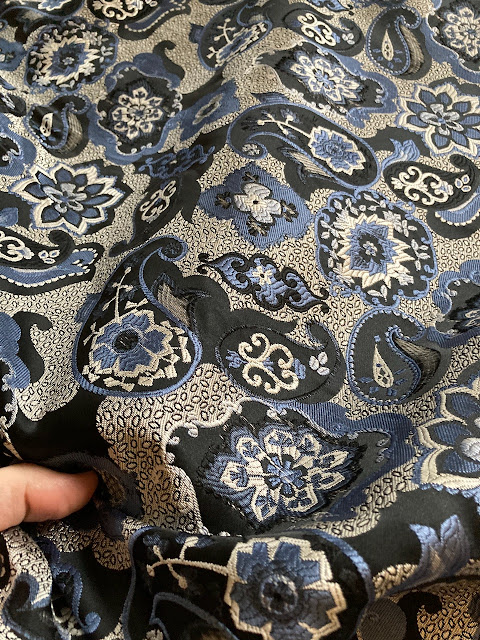
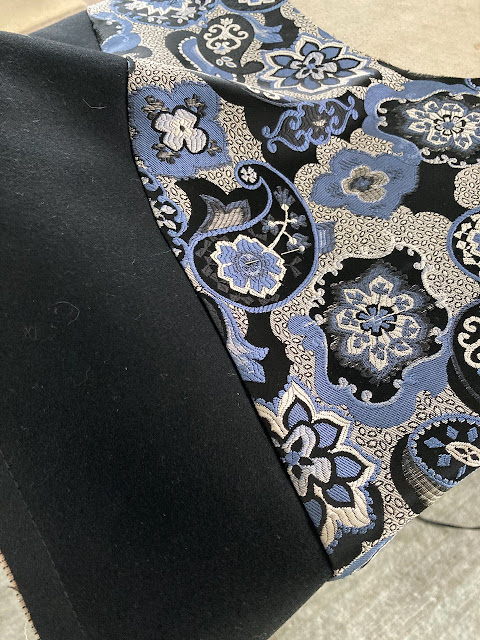
His birthday is next Tuesday so I have five more days. Luckily I'm making pretty good progress. The faux fur -- a sort of short-haired, salt-and-pepper, something or other (sheared mink?) -- is from Mood as is the very luxurious, heavy poly brocade we picked up for the lining (also from Mood). Believe it or not, the lining cost more per yard than the fur.
The style of the coat is basically a hooded long jacket with slightly dropped shoulders that zips up the front. The sleeves are basic one-piece sleeves. I'm adapting this from a vintage Seventies caftan pattern (Size Large) I have in my stash. I've added facings and a lining to the original pattern. Fortunately, I've made a number of faux fur coats before so I know what's involved. Even though the design is basic, sewing with faux fur has its challenges. The primary one is that fur is messy to work with. Every time I cut a piece I have to vacuum up immediately after. I also use an N-95 mask so I don't inhale the fibers. (Remember when almost nobody knew what an N-95 mask was?) I always refer to materials created by Kenneth D. King about working with faux fur. (He also has a wonderful video he created for Threads a few years ago.)
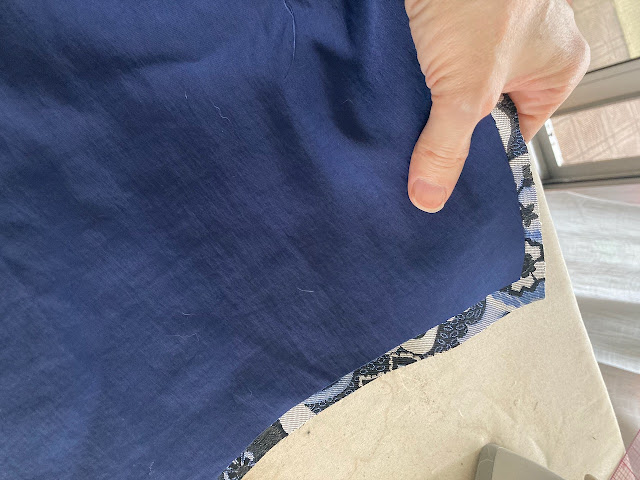
I'm using black wool Melton for the facings, which are interfaced with lightweight French canvas (i.e., hair canvas). I've added two inside single-welt breast pockets for things like wallet and phone.
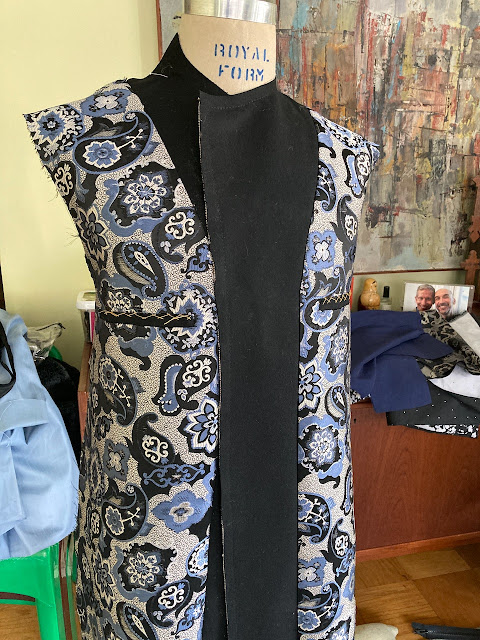
Since Michael wants this to be a very warm coat, I've added a layer of lightweight nylon to the torso as a wind barrier. It doesn't add much bulk and it should make the coat windproof. By themselves, the faux fur and poly brocade aren't particularly warm, though they look like they would be.
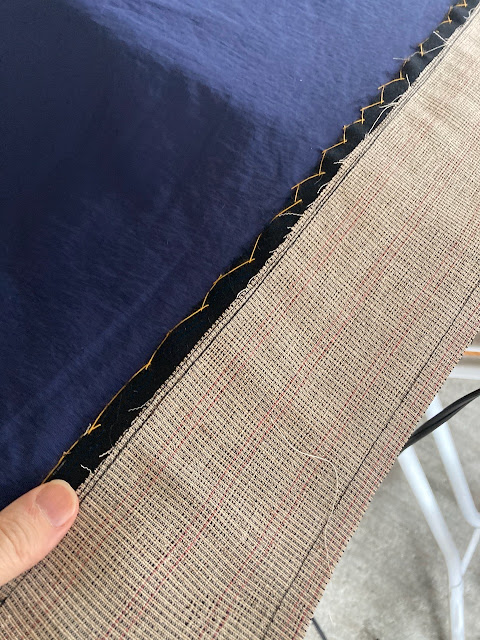 |
| I catch-stitched the seam allowances down on the front. |
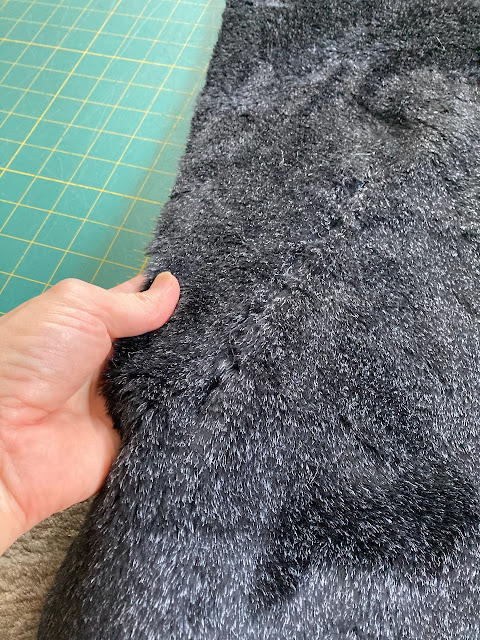
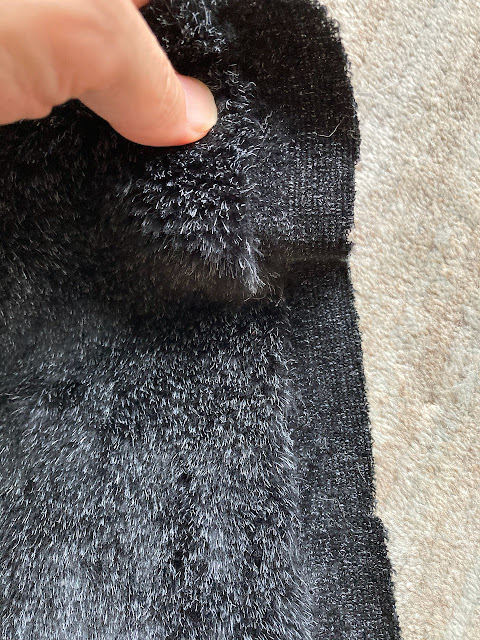
I've been working on this for about four days so far. It's slow going. I lost most of yesterday when I worked on the front pockets I'd included in the design (side seam pockets would have been too far back to reach into). Luckily I had only cut one through the fur when I realized I hated the way the pocket looked. I ended up cutting off the pocket bag and resealing the fur (closing it up as one would a dart). You can hardly tell there was ever a pocket there, but it doesn't even matter: I've decided to attach two front patch pockets instead.
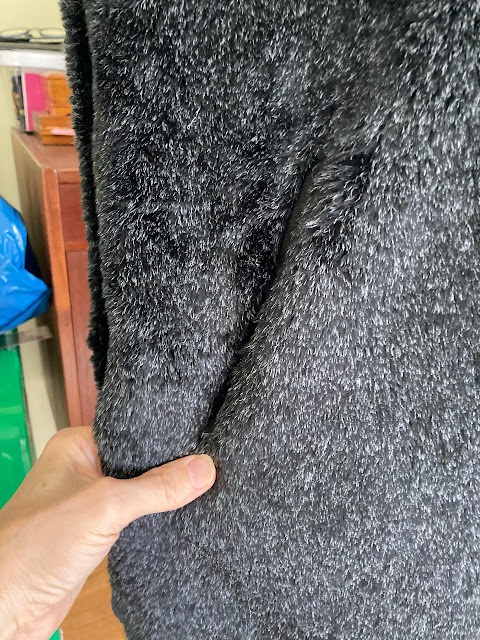 |
| I hated the way this front pocket looked. Maybe in a heavier fur but not in mine. |
 |
| I carefully removed the stitching that attached the pocket bags and sealed up the pocket hole. |
 |
| You can hardly tell there was a pocket there, but it's all going to be covered up by a patch pocket anyway. |
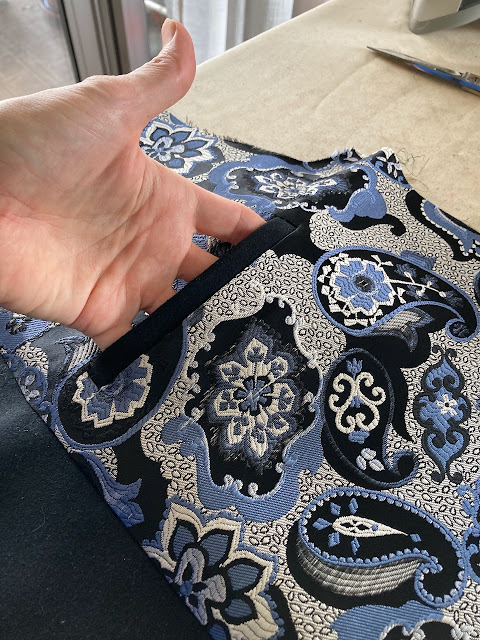
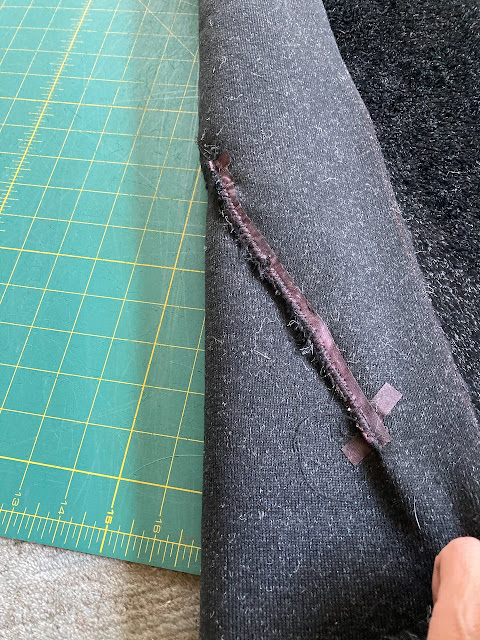
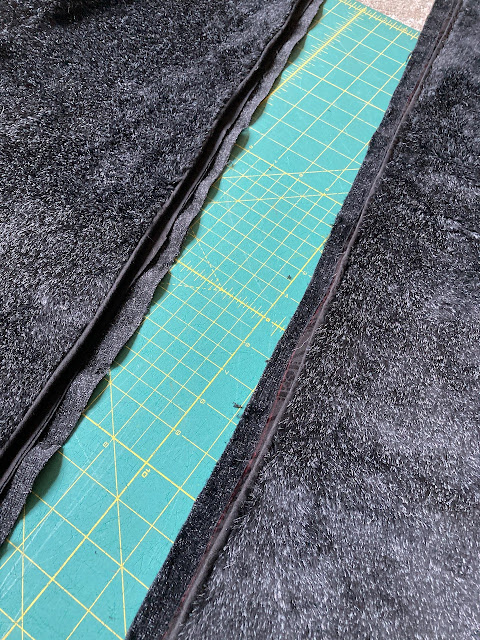
To separate the fur from the front zipper, I added corded piping, which I made myself. I cut bias strips from a heavy black cotton jacquard I had in my stash. I shaved down the front seam allowances with a pair of electric clippers (kind of like mowing a lawn). I stitched the bias strips close to the fur, and added the zipper adjacent to the corded bias (I basted the zipper in by hand first).
 |
| Shaved seam allowance. You'll notice that the fur is mounted on a knit backing. |
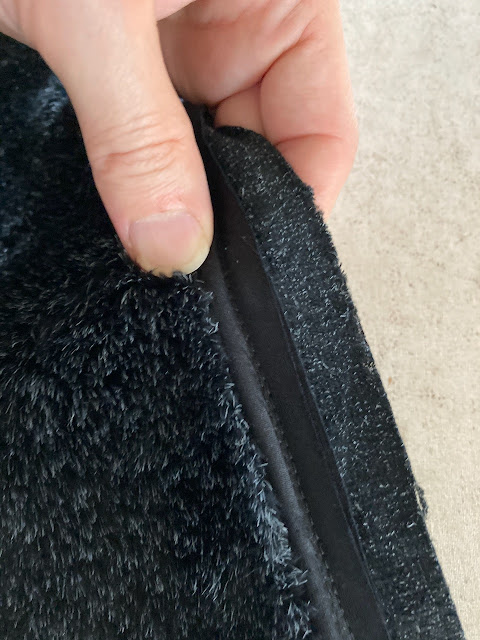 | |
| The corded bias stitched to the edge serves as a barrier between the fur and the zipper teeth. |
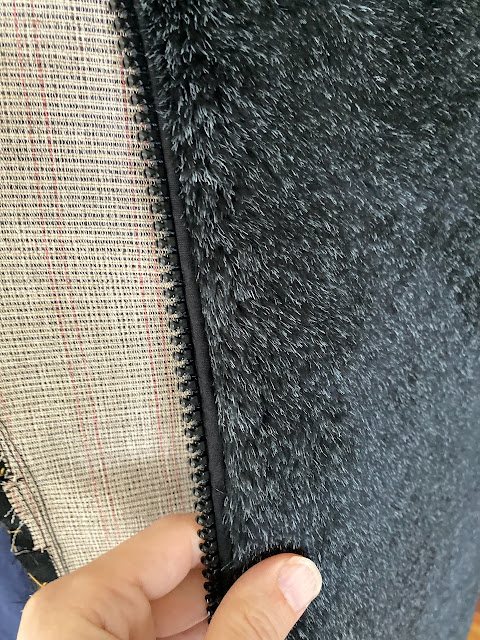 |
| The front edge with the zipper added. The next step will be to attach the front facings. |
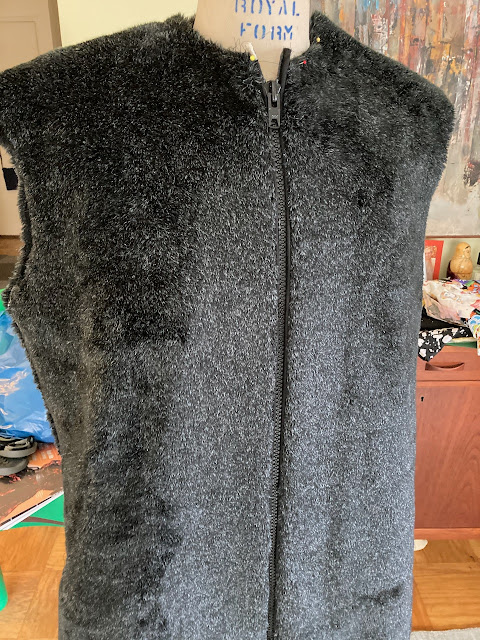
It's coming along but there's a lot yet to do. I've cut the hood and the hood lining, but I need to attach a cord to the hood and insert two grommets to pull the cord through. I also still need to cut the sleeves and the sleeve lining. And then there's hemming the coat and the sleeves. That won't happen before the weekend.
I'll admit that right now the coat has a bit of a Fred Flintstone vibe but hopefully sleeves (and pants on Michael) will reduce that.
And that's it. More messy fur sewing ahead.
Have a great day, everybody, and happy sewing!