People have worked with sourdough for thousands of years, long before there were little packets of sourdough starter available for sale in stores. (The oldest known sourdough bread dates back to 3700 BC!) So, fear not! I promise that making an active sourdough starter from scratch is much easier than you’d think! I’ve tested just about every possible method, and I’ve come to realize this process can be pretty forgiving. All you need is flour, water, a bit of patience, and maybe a touch of faith that nature knows what she’s doing.
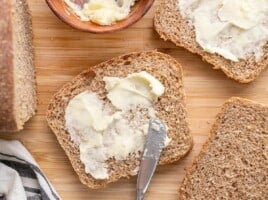
Sourdough starters might sound a little mysterious at first (like some bubbling science experiment on your counter!). Really, it’s just a fermented mix of flour and water that thrives on the natural wild yeast found in the flour and the environment (yep, there’s yeast in the air!). For about a week or two, you’ll “feed” it, and soon, it’ll become lively, bubbly, and ready to bake with. You’ll use this mixture as a natural leavening agent when making sourdough bread, creating that deliciously tangy flavor and chewy texture with no commercial yeast needed. And, once you’ve got it going, you can use it for so much more than just bread. Pancakes, crackers, biscuits…don’t even get me started! (Stay tuned for my super easy, budget-friendly sourdough bread recipe coming soon!)
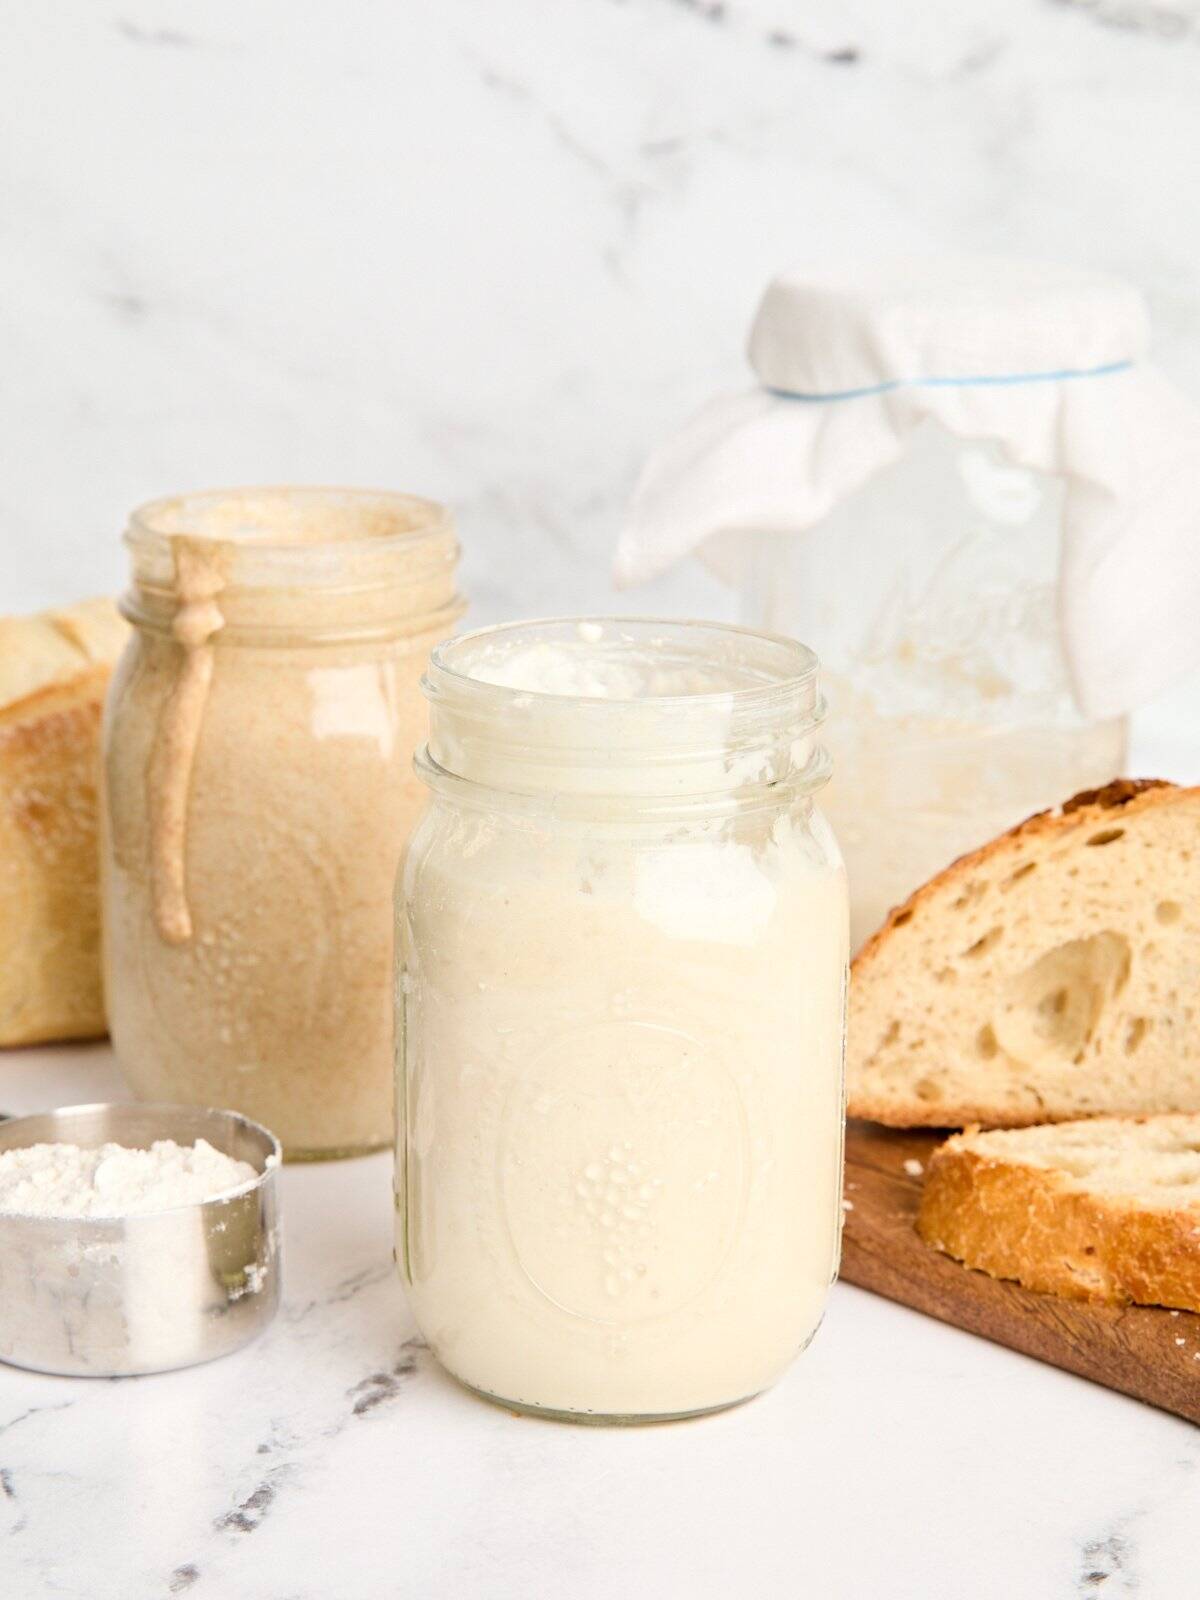
The method I use below is for a 100% hydration starter, which means it’s made with equal parts flour and water. This is by far the easiest, most beginner-friendly way to create a starter, and it’s the perfect starting point for just about anyone. My only advice? Read through all my tips and notes below before you dive in!

See how we calculate recipe costs here.
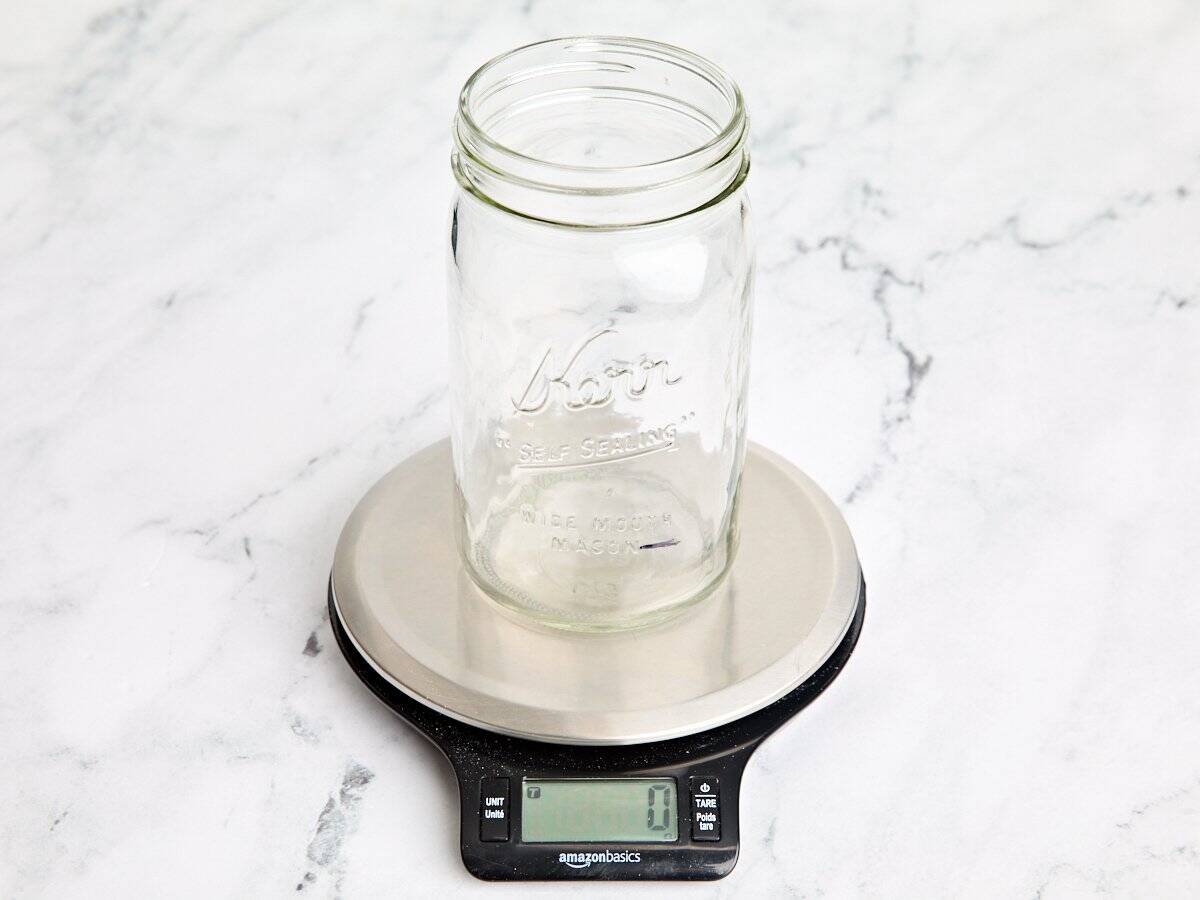
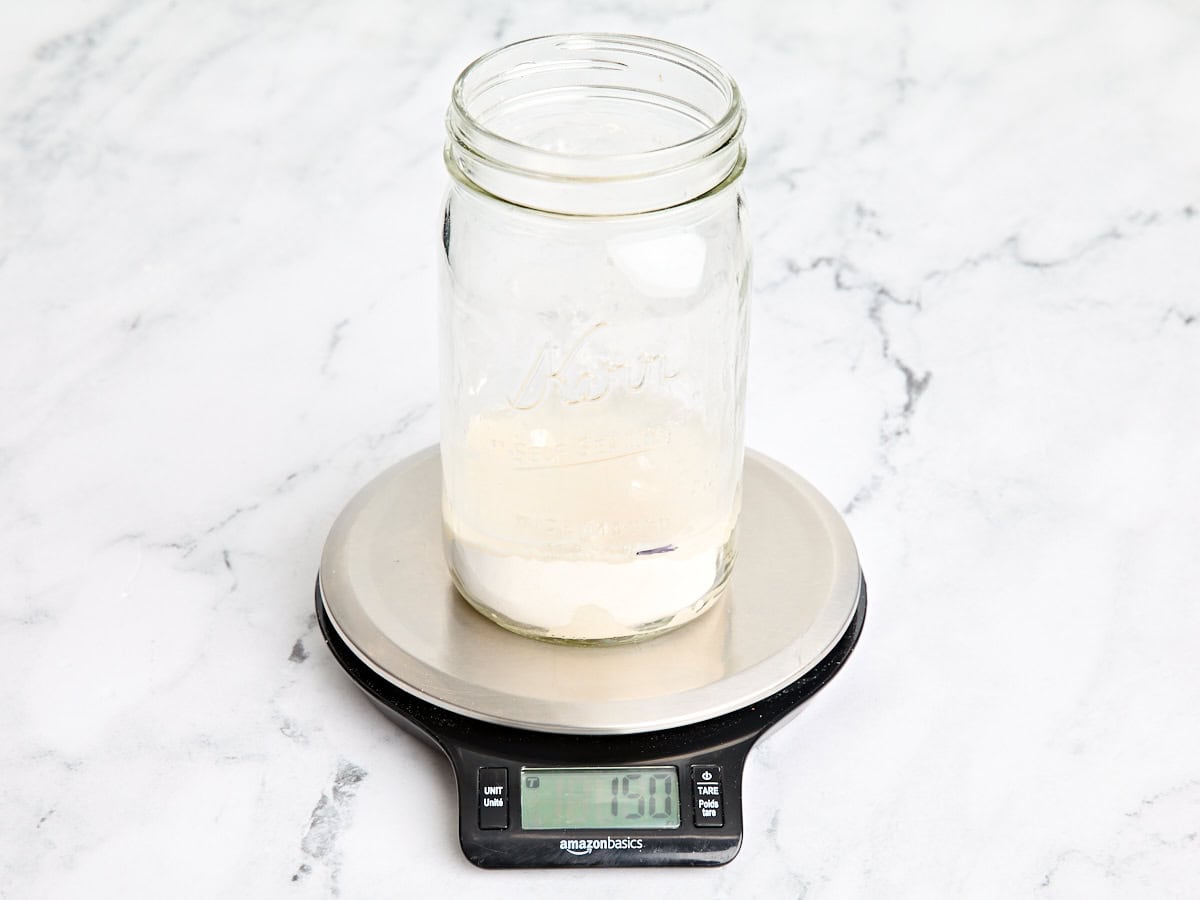
Set a large, sanitized mason jar on a kitchen scale and make a note of the weight (knowing how much your empty jar weighs will help in a few days’ time when it’s feeding time!) Once you’ve made a note of the weight of your jar, zero it out (by clicking the tare button) to set the scale to 0.
You can ignore this step if you won’t be using a kitchen scale.
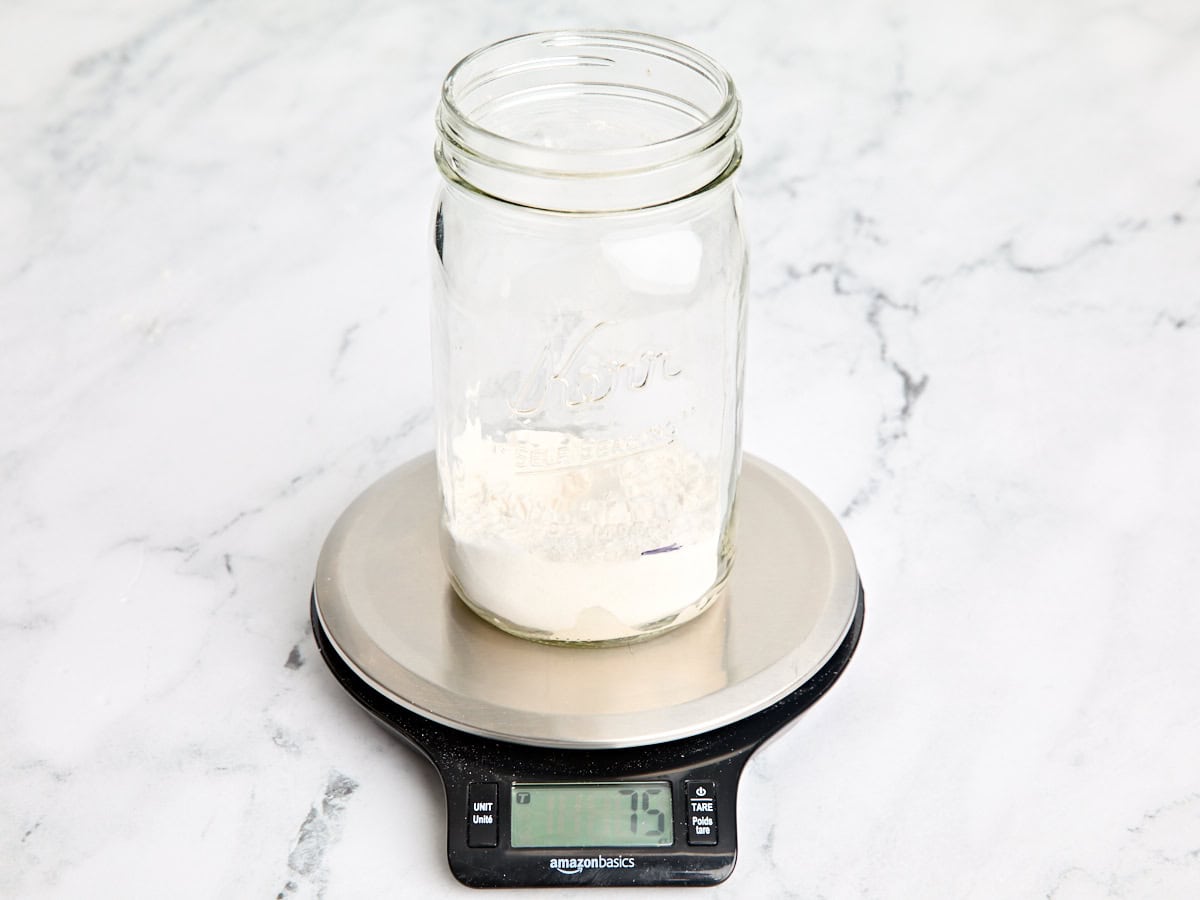
Add 75g of all purpose flour to the jar. This was equal to ½ cup of flour for me.
Now add 75g of water. If you’re not using a kitchen scale, you want to use a 1:1 ratio of water to flour throughout the whole process. So, if you use ½ a cup of flour, you should also use ½ a cup of water.
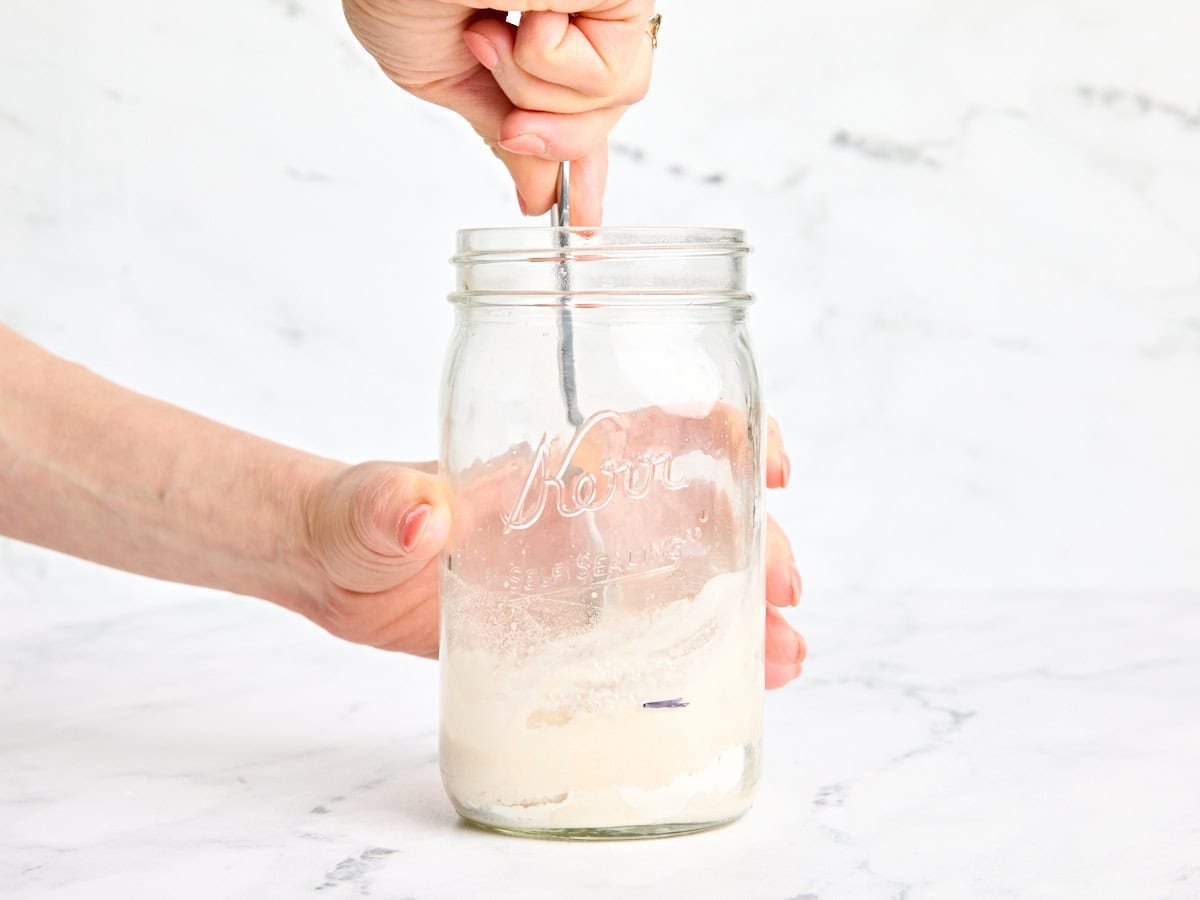
Use a clean spoon to stir your flour and water together really well. Don’t be shy—give it a good mix! You want to make sure there are no dry pockets of flour hiding at the bottom of the jar. Stirring not only helps everything combine, but it also introduces oxygen, which supports the growth of wild yeast in the early days.
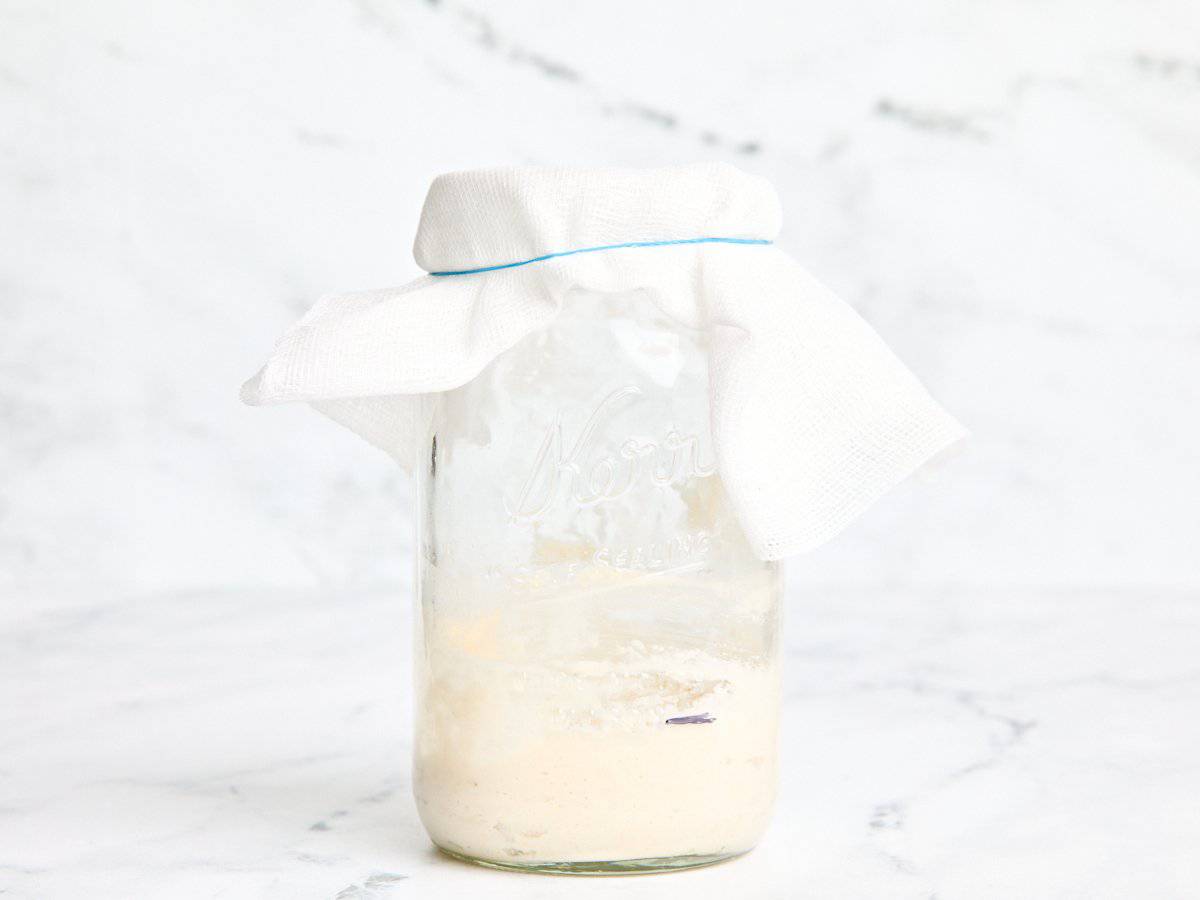
Now, cover your jar with a piece of cheesecloth, a coffee filter, or a clean, dry paper towel. I personally prefer using cheesecloth or a coffee filter to avoid any paper towel fuzz from getting into the jar, but a clean, dry paper towel will work in a pinch! Use elastic or butcher twine to secure the cloth.
Let your jar sit on the counter, as is, in a 75-80 degree warm spot for 24 hours. I draw a little line on the outside of the jar using a permanent marker so I can see how much my starter grows as it develops over the course of the week. You could also use a rubber band or tape to mark your starting point.
After 24 hours, stir everything with a clean spoon. We really want to incorporate as much air as possible here to help kickstart the fermentation process! Secure the cloth again with an elastic or butcher twine and let it sit for Day 2 undisturbed in the 75-80 degree warm spot. You might see some bubbles on this day…or you might not. Trust the process!

When you feed your homemade starter, there are a couple of ways to do it: You can weigh it out using a kitchen scale, or you can use volume measurements, like basic measuring cups. Use whichever method is easiest for you. I promise this easy recipe will work for you no matter which method you choose.
Once it’s alive and well, you change the ratio from 1:1 to 1:1:1, meaning if you have 75g of starter, you’ll want to add 75g of flour and 75g of water when you feed it. However, I find that if I am using the measuring cup method, adding a little extra flour yields the best results. So, I will use ½ cup starter, ½ cup of water, and about ¾ cup of flour.
Once you get the formula down, stick with it! You’ll see your sourdough will eventually double in size every time you feed it once it’s really active. Then, it’s time to feed it again—or bake, depending on how much you have!
Some people use the ‘float test’ to check if their starter is ready. To do this, drop a small spoonful of starter into a glass of water to see if it floats. If it floats, it’s ready to use. Personally, I know when mine is ready to bake with once it has doubled in size, has lots of bubbles, and I have enough for 1 loaf of bread. This can take anywhere from one to two weeks.
For a typical loaf of sourdough bread, you’ll need around 50-200 grams of your homemade sourdough starter. You want this to account for around 20-30% of the total flour weight in your bread recipe. I highly recommend investing in a small kitchen scale if you really want to dive into the world of sourdough!
If you want to keep your starter active, you must feed it with flour and water on a regular basis. If you’re baking every couple of days (or every day, lucky you!), you should keep your jar on the countertop. You want to feed it twice a day, ideally. If you miss a feeding, it’s okay. Just keep an eye on it and make sure you still see bubbles. If it gets any brownish liquid on top (known as “hooch”), it’s hungry and needs feeding. Drain that liquid off and feed it!
If you’re baking only once a week or once a month, you’ll want to keep your jar in the refrigerator. You can feed it once a week, and it’ll survive! The fridge is a handy piece of kitchen equipment in this situation because the temperature-controlled cold air slows the rate that the starter eats the flour and water after being fed. This means it can survive a lot longer between feedings once a week.
This recipe for sourdough starter is truly so easy and beginner-friendly, but like any living thing, it can have a mind of its own sometimes! If yours isn’t doing as you expected, don’t panic! I’ve been there, and I promise there’s almost always a simple fix.
Below are a few common questions and troubleshooting tips to help you feel confident and in control of the process:
–There were lots of bubbles in the first few days, but not anymore. Why is that?
Everyone’s starters are different, and I really can’t emphasize this enough! Your home may be warmer than mine, or your flour might have more naturally occurring yeast than the kind I use. All of these factors can change how your starter behaves from day to day. If you saw bubbles in the first few days and now it’s gone quiet, it doesn’t mean it’s dead. Any visible bubbles that early on are likely caused by a certain type of bacteria. As those early bacteria die off (they’re not the ones we want long-term), the wild yeast and beneficial (good for you) bacteria start to take over. During that shift, things can get quiet.
Continue with the process as described, and by Day 7 (up to Day 14), you’ll see it perk back up again!
-Why do I have to discard before feeding?
Removing some of your starter before feeding helps keep it at a manageable size. When you feed it, you’ll be working on a 1:1:1 basis (starter, flour, and water). The more you have in your jar, the more flour and water you need to add during feeding…and the bigger the total amount will become! Discarding some keeps the amount small and sustainable, especially in the beginning when you’re feeding it daily.
Once it’s active (visible bubbles, rise and falls predictably, smells pleasantly yeasty), you can keep the discard in the fridge for 1-2 weeks and use it in any sourdough discard recipe you like.
-I let my sourdough sit too long without feeding it! There’s a brownish liquid on top now…do I have to throw it out and start over?
No, you don’t have to start over, but your starter is HUNGRY. Drain off the liquid (the hooch) and feed it!
-I’m ready to bake some bread, but I don’t have enough starter?
By Day 7 (possibly up to Day 14), you should have more than enough to begin baking. You’re officially ready to bake when you have at least 50-200g of starter and it’s visibly active. (Remember, you need to save some in the jar so you can replenish it over and over again!)
-I kept my starter in the fridge, but I want to bake with it now. How do I wake it up?
You’ll want to feed your starter at least 3 times before baking with it so the yeast and (good) bacteria are super active, which will yield fluffy, chewy, delicious sourdough bread! You should do this whether it is kept in the fridge or on the counter.
So, if you’re planning to bake on Sunday, you’ll want to store your jar on the countertop and feed it on Saturday morning, Saturday afternoon, and before bed on Saturday night. Listen, I know sourdough takes a little work and advanced planning, but it’s a great skill to learn. Nothing brings the cozy vibes like baking sourdough from scratch.
-How do I know if it’s gone bad?
If you see any green or black fuzzy spots, or if the mixture turns a funny color like pink or orange, you’ll need to toss it and start the process over again.
-How long will my sourdough bread starter last for?
So long as there are no signs of mold or unusual smells and you feed it as needed (whether it’s kept in the fridge or at room temperature)…it can last forever. Seriously! The different microbes continue to feed and thrive each time it is fed, creating an infinite cycle of fermentation. There are starters out there that have even been passed down through generations!
The post Sourdough Starter appeared first on Budget Bytes.