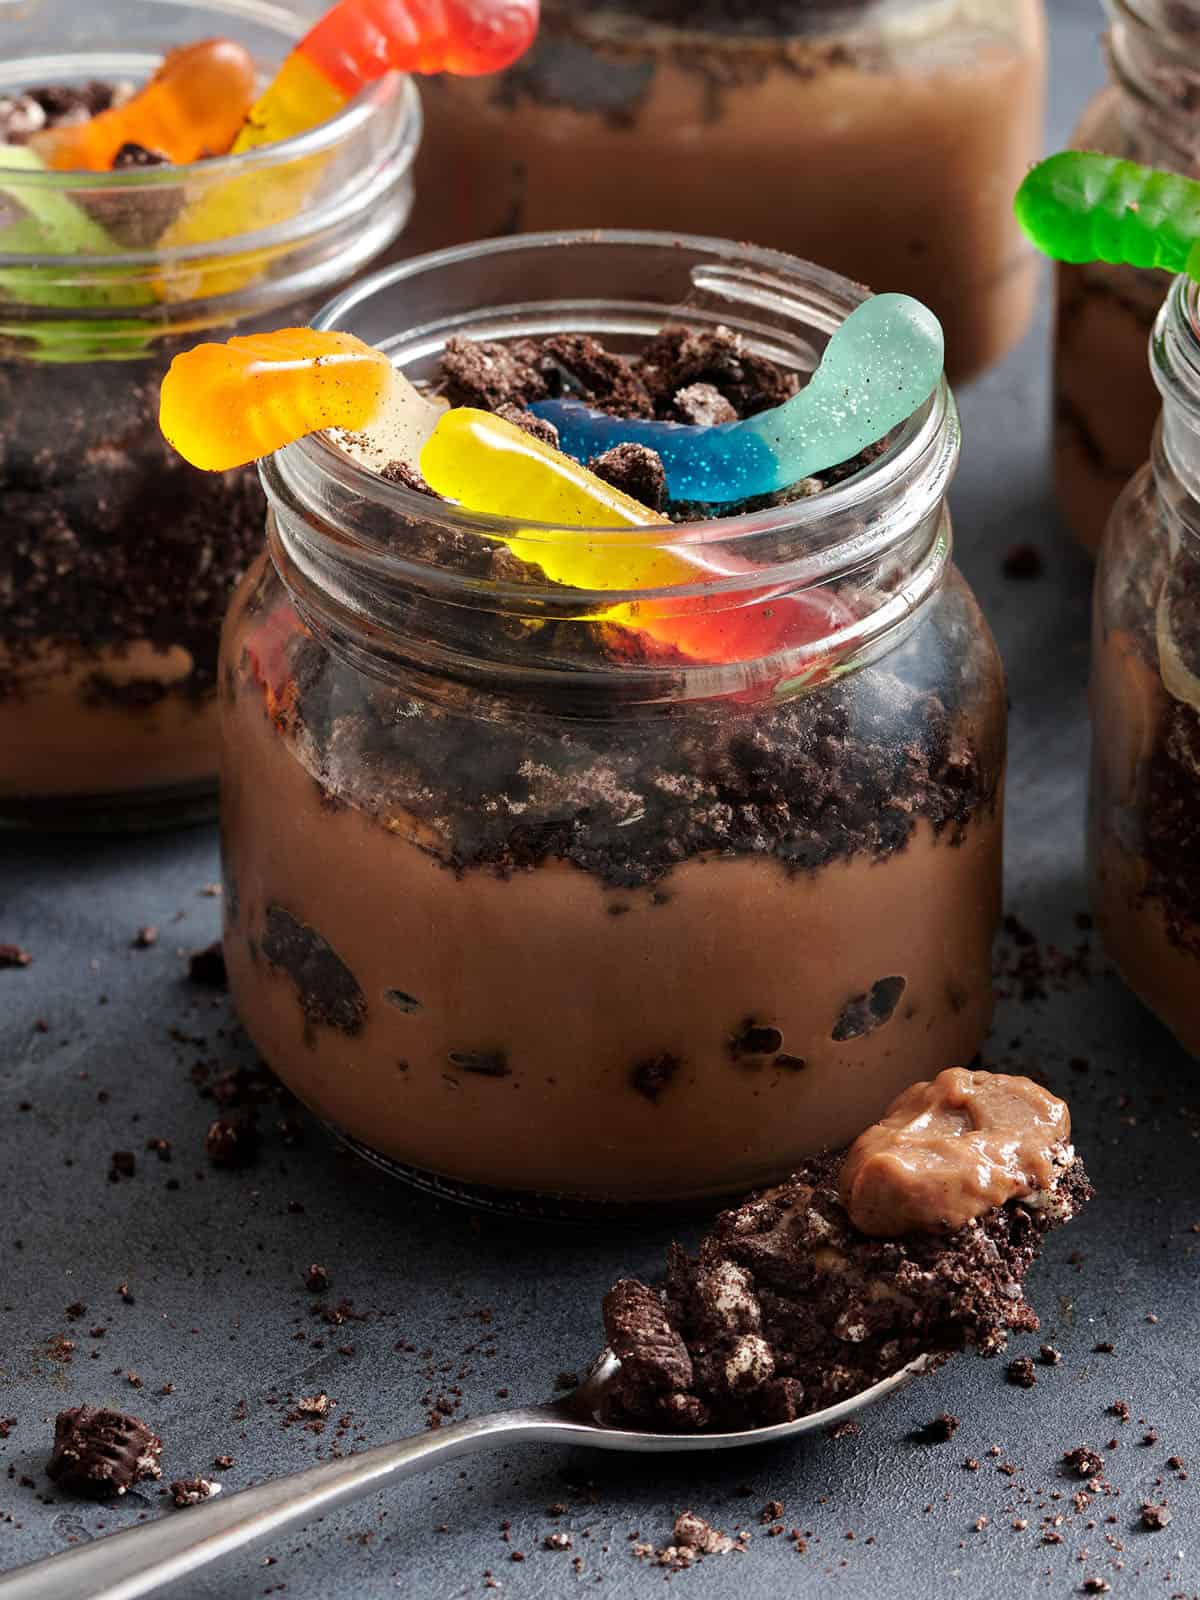
There are some recipes that instantly take me back to childhood, and this dirt pudding AKA Worms in Dirt is one of them! I mean, what’s not to love about these little cups of chocolate pudding, crushed cookies, and gummy worms?! They’re just plain fun! This super simple, kid-friendly dirt pudding recipe is the perfect budget-friendly Halloween dessert, Earth Day celebration, or birthday party treat! Even the grown-ups love this one just as much as the kiddos. 😉
Easy Dirt Pudding Recipe
What I love most about this worms in dirt recipe is that I go for a simple homemade chocolate pudding over the store-bought kind. It makes it a little less processed and a little more wholesome for the kids (and it’s really easy to make!) The pudding is still just as creamy, chocolatey, and delicious as the version I grew up with.
Gather your little helpers, crush some cookies, and have fun making this treat together. It’s one of those dessert recipes that’s as much about the memories as it is about the flavor!
Recipe Success Tips & Suggestions
Mix the milk into the dry ingredients slowly until thoroughly combined with no lumps. This will help the mud layer in your dirt pudding cups have the smoothest consistency.
Let your homemade chocolate pudding cool and set completely before adding your crushed sandwich cookies and gummy worms. You can make the pudding layer up to 2 days ahead and keep it chilled until you’re ready to assemble.
Have fun with the presentation! I usually serve these pudding cups in clear plastic cups or small glass jars so the “dirt” layers show through. You could also layer this dirt pudding in food-safe cups, then place them inside small flower pots (perfect for parties!)
Add a gummy worm or two in between the pudding and cookie dirt layers for a little surprise!
Worms in dirt works great as individual pudding cups, but you could totally make a party platter and assemble one large ‘dirt cake’ in a trifle dish or 9×9” pan.
Switch out the candies based on the season. Go for mini chocolate eggs and bunny-shaped marshmallows for Easter, add more worms and candy pumpkins for Halloween, or go for gummy flowers for the spring or summer!
Print
Add to Collection Go to Collections
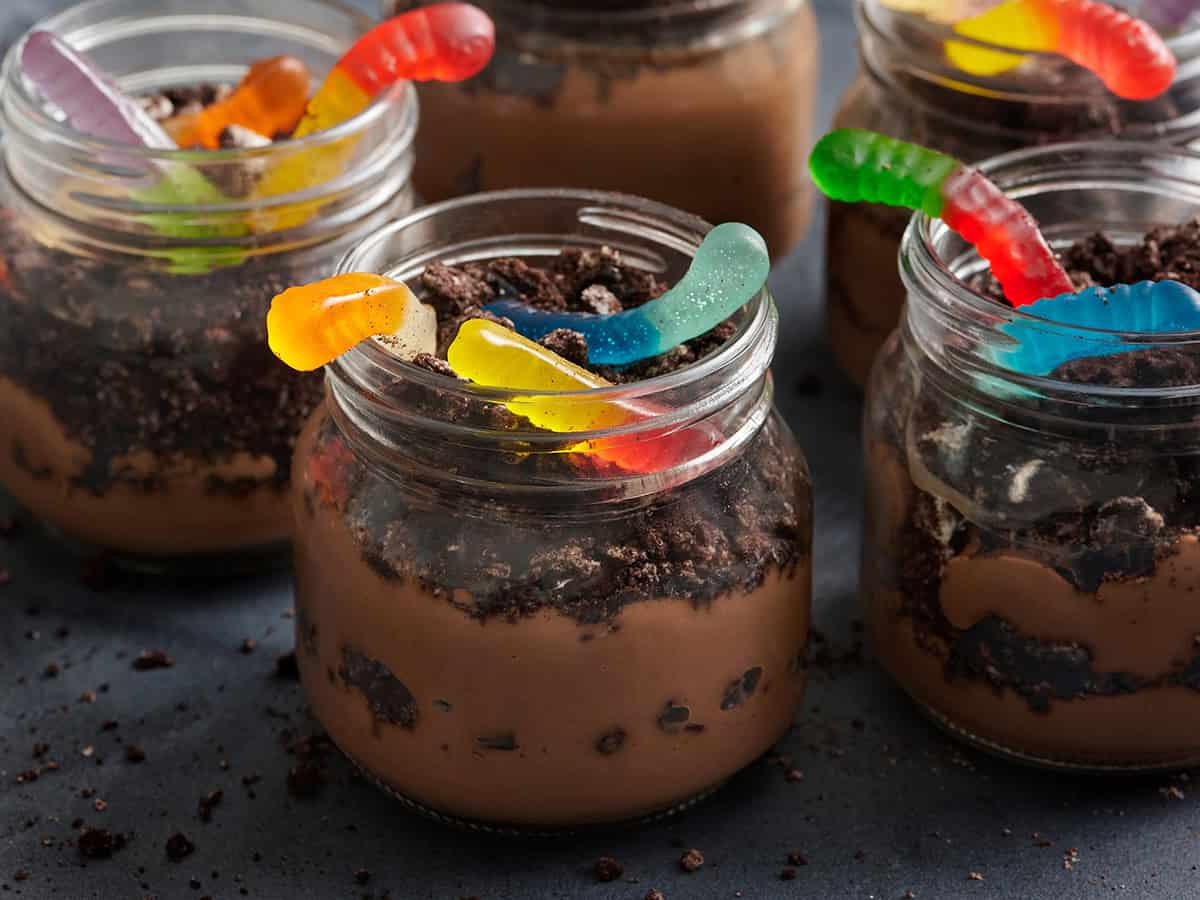
Dirt Pudding
This Worms in Dirt Pudding recipe is a classic! Creamy chocolate pudding and cookie crumbs topped with gummy worms make an easy dessert kids can help make!Step-by-step photos can be seen below the recipe card.
Course Dessert
Cuisine American
Total Cost $4.16 recipe / $0.83 serving
Prep Time 10 minutesminutes
Cook Time 15 minutesminutes
Chill Time 1 hourhour
Total Time 1 hourhour25 minutesminutes
Servings 5servings
Calories 434kcal
Author Jennie Alley
Equipment
Medium Saucepan
Large Bowl
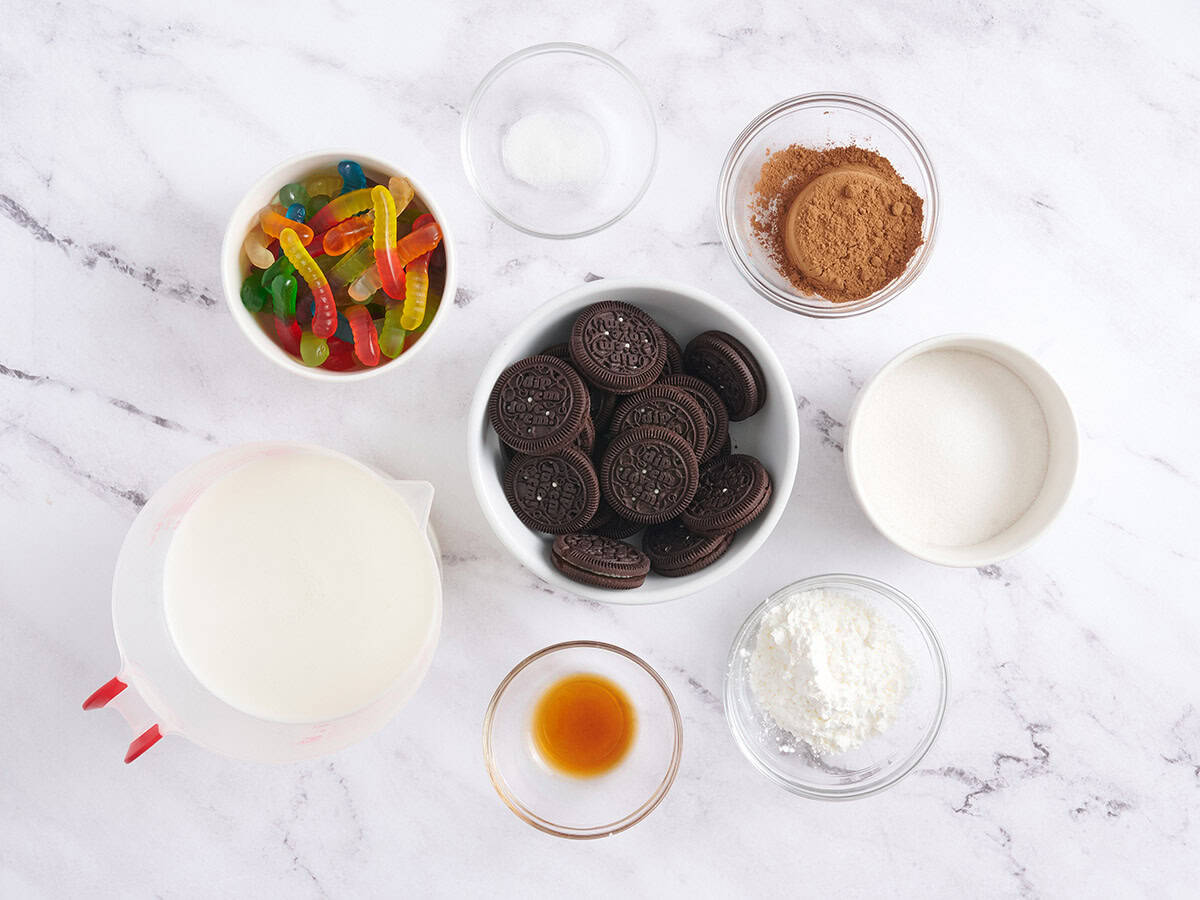
Ingredients
Chocolate Pudding
½cupgranulated sugar100g, $0.19
¼cupunsweetened cocoa powder25g, $0.54
¼cupcornstarch30g, $0.13
¼tspsalt$0.04
3cupswhole milk24 oz., $0.89
1tspvanilla extract$0.65
To Assemble
12chocolate sandwich cookies$0.84*
15gummy worms$0.88
Instructions
Gather all your ingredients.
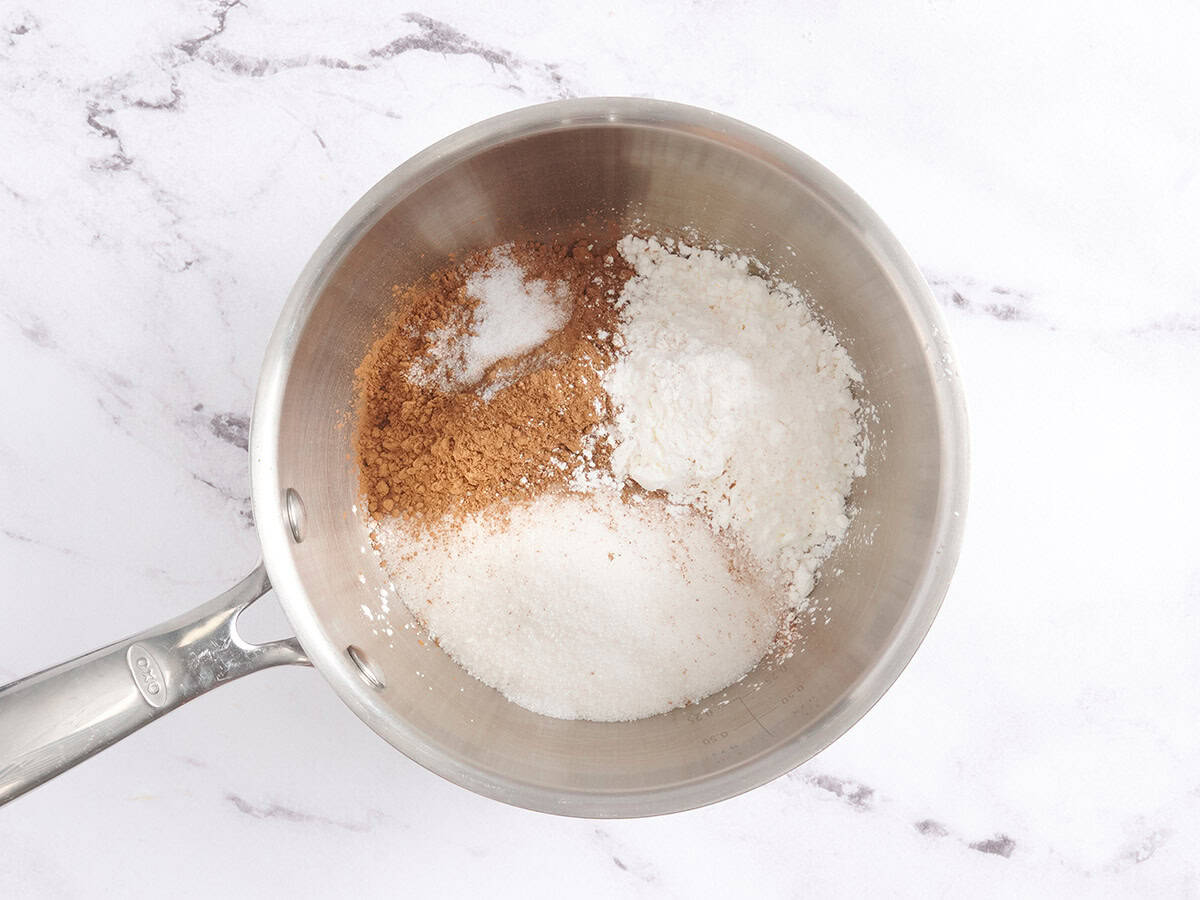
In a medium saucepan, combine sugar, cocoa powder, cornstarch and salt.
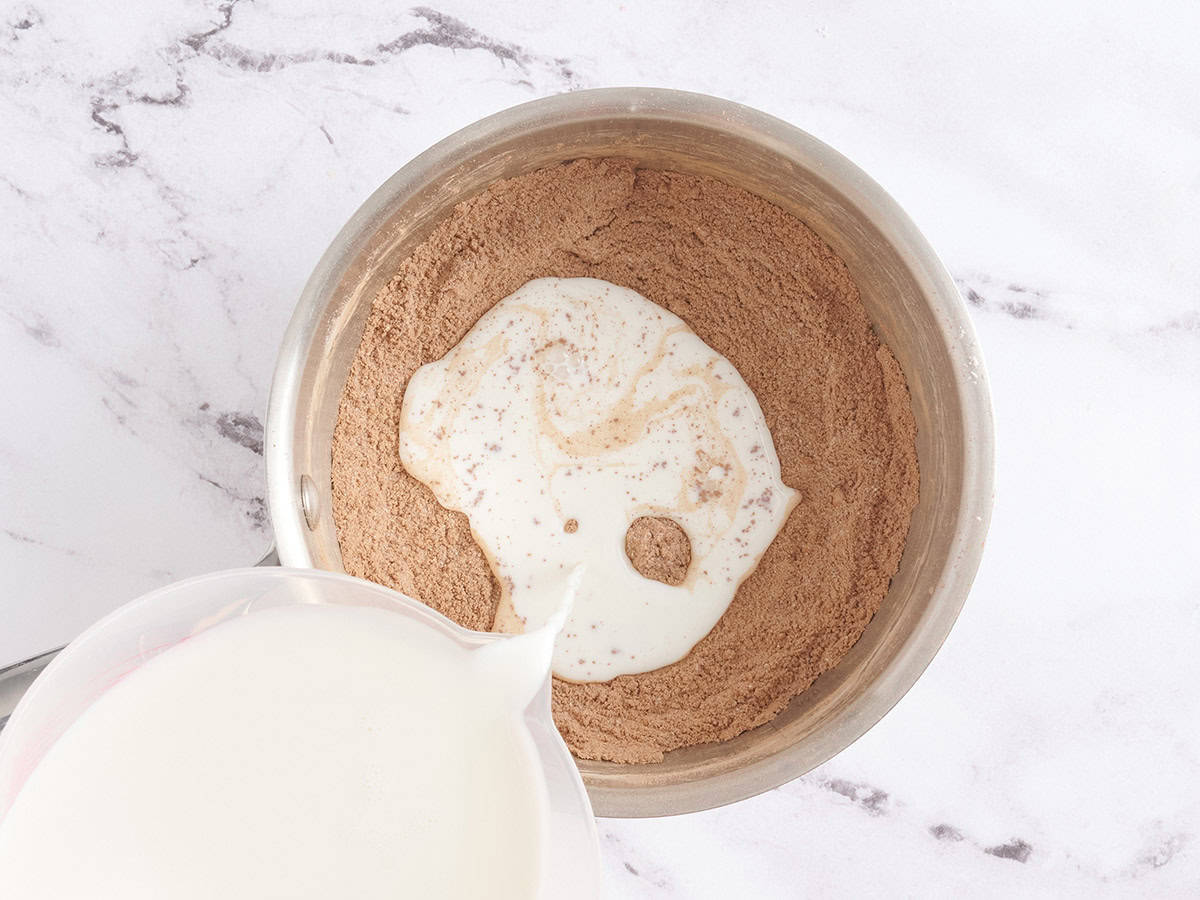
Slowly whisk in the milk a little at a time until smooth and no lumps remain.
Place over medium heat and stir constantly. Cook 8-10 minutes until the mixture starts to bubble and visibly thickens. Let it simmer for 1–2 minutes more to fully activate the cornstarch.**
Remove from heat and stir in vanilla. Pour into a large bowl (or directly into serving cups). Cover with plastic wrap against pudding to prevent a skin from developing and chill for at least 1 hour or until cool and set.***
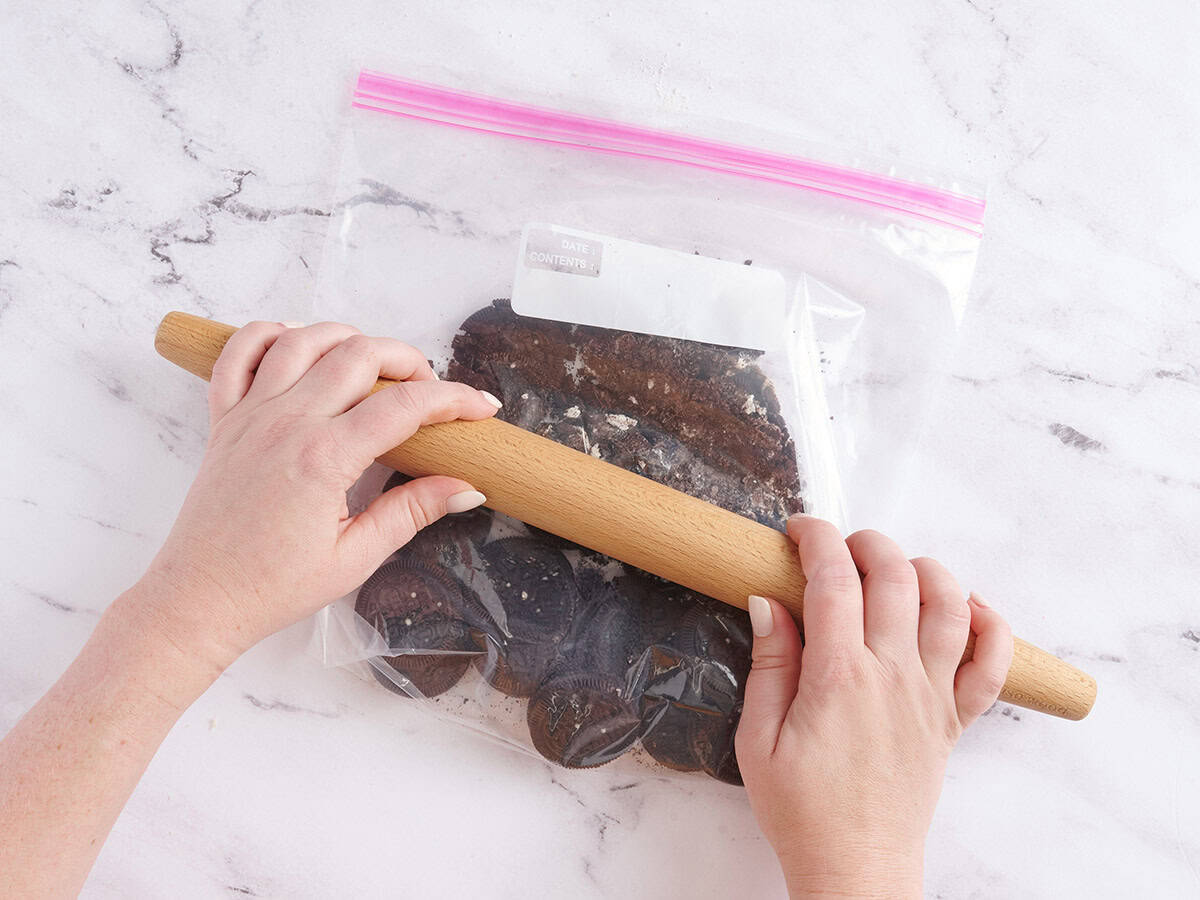
While pudding chills, crush cookies in a ziplock back using a rolling pin until they look like dirt.****
To assemble, spoon a layer of pudding in the cup, top with a layer of crushed cookies, repeat the process once more.
Garnish with gummy worms so they look like they’re crawling out of the “dirt.” Serve and enjoy!
See how we calculate recipe costs here.
Notes
*You can use Oreos, but store-brand chocolate sandwich cookies are more budget-friendly. They both make a delicious dirt layer!**That extra simmer after bubbling ensures the cornstarch fully thickens your pudding for a silky texture.***You can make the pudding up to 2 days ahead; just keep it chilled until ready to assemble.****For easy cleanup, crush the cookies inside their original sleeve and then transfer to a bag for storage, if needed.
Make the pudding: Add ½ cup sugar, ¼ cup unsweetened cocoa powder, ¼ cup cornstarch, and ¼ tsp salt to a medium saucepan. Mix to combine the dry ingredients.
Now slowly mix in 3 cups of whole milk a little at a time until smooth with no lumps. Place the saucepan over medium heat and stir constantly. Let the chocolate pudding cook for 8-10 minutes, until it bubbles and visibly thickens.
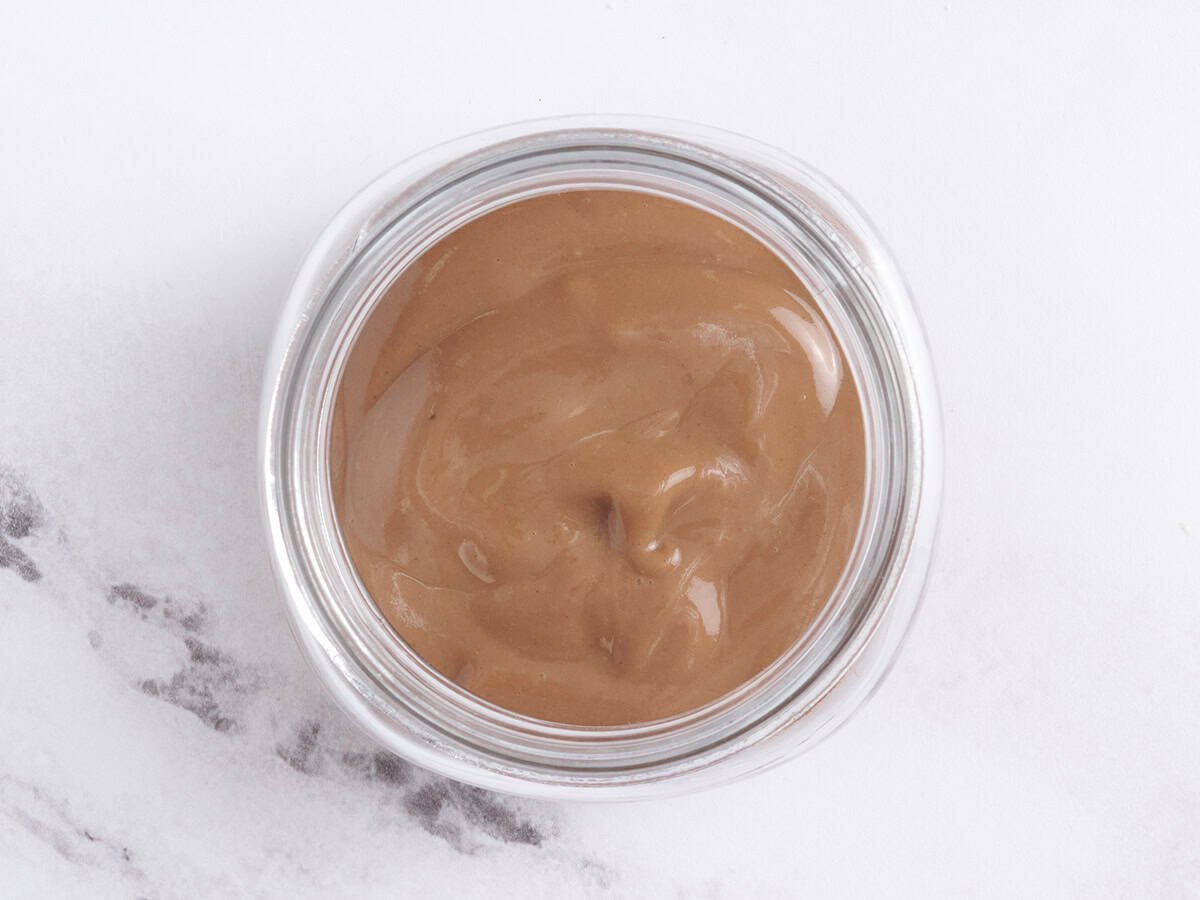
Let the pudding simmer for 1-2 minutes more to fully activate the cornstarch and create a silky texture. It should coat the back of a spoon (as shown here) once fully thickened.
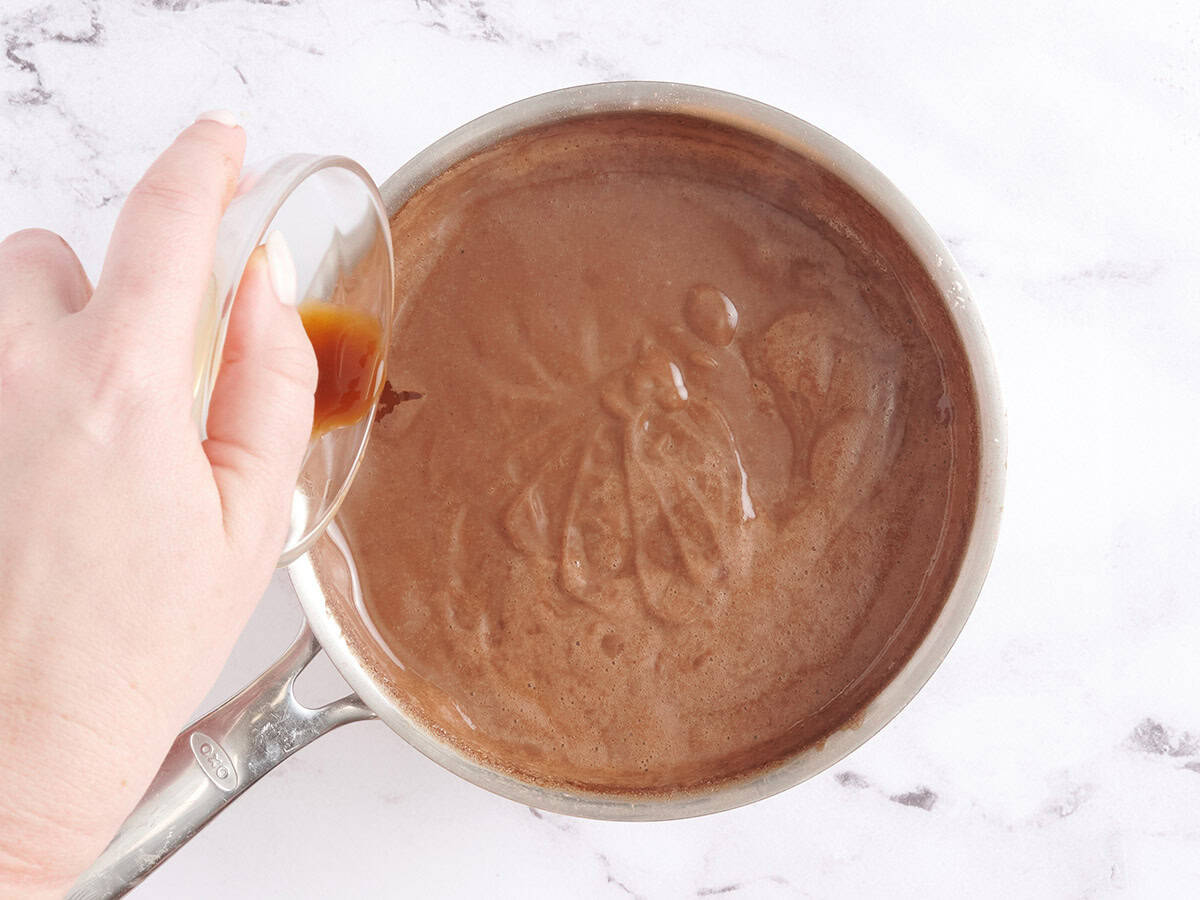
Take the pudding off the heat and stir in 1 tsp vanilla extract.
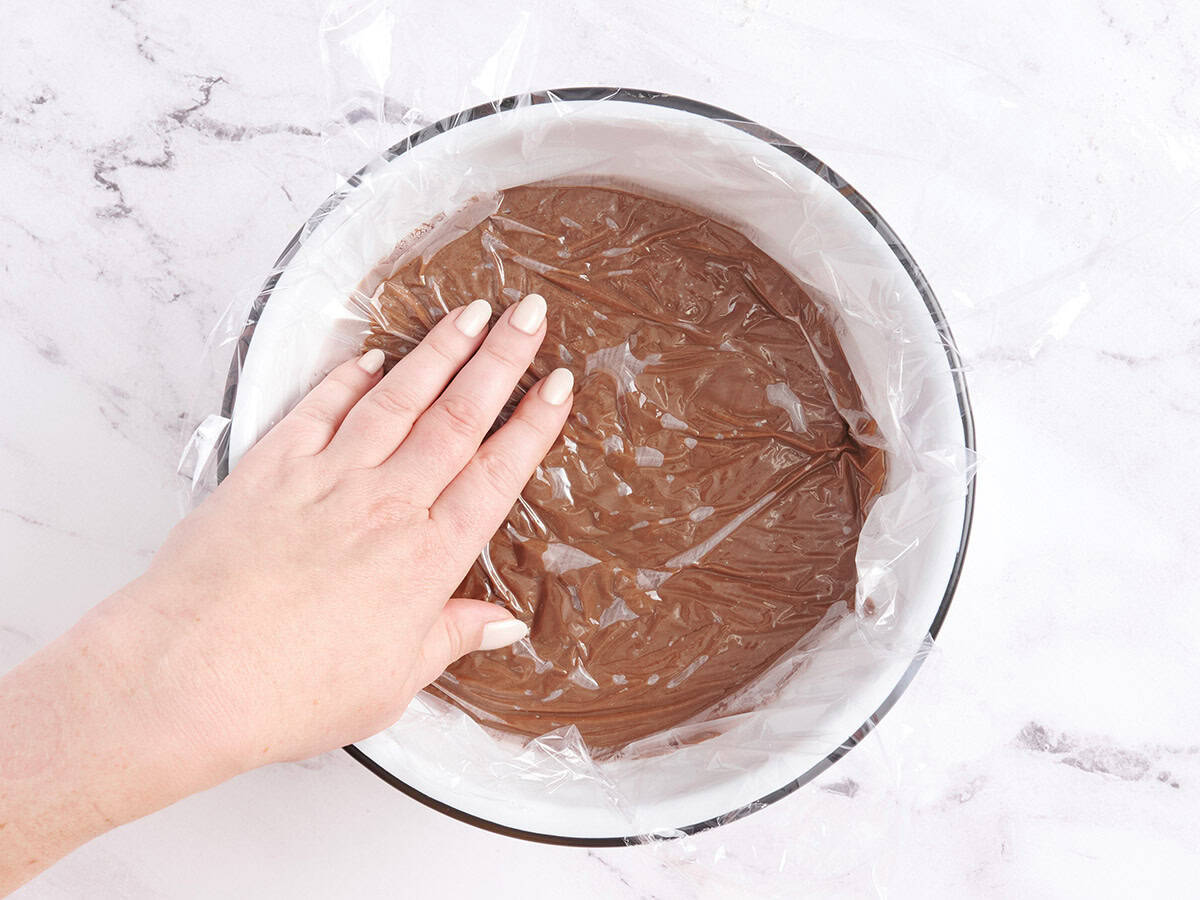
Let the pudding cool: Now pour the pudding into a large bowl (or directly into your serving cups if heat-safe). Add a layer of plastic wrap to the surface of the pudding to stop it from developing a skin and chill for 1 hour, or until cooled and set.
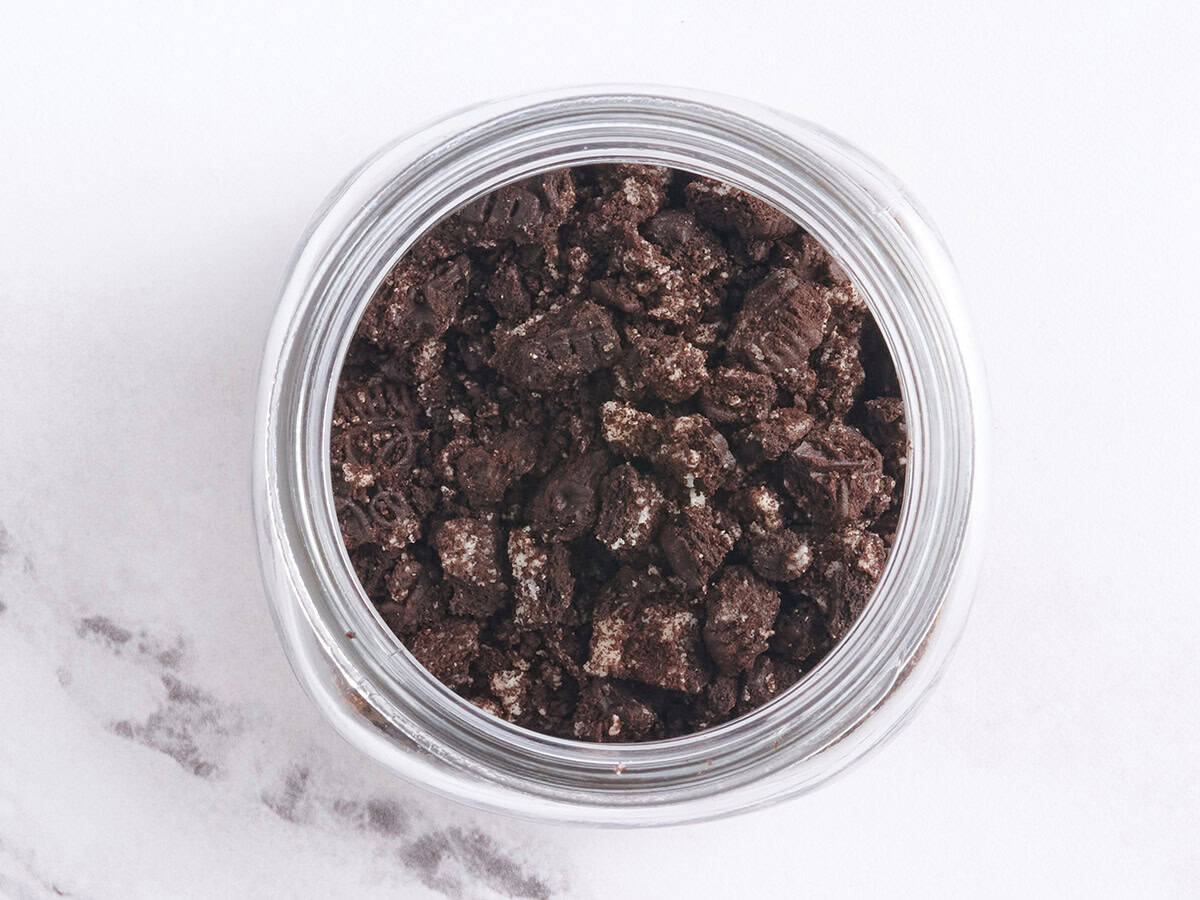
Crush the cookies: Meanwhile, crush 12 chocolate sandwich cookies directly in the original sleeve or a ziplock bag until crumbled to your liking.
Make the dirt worm pudding cups: To assemble, start by spooning a layer of cooled pudding into your serving cup…
…then top it with a sprinkle of crushed cookies. Add another layer of pudding on top of the ‘dirt’ layer and finish with another layer of crushed cookies.
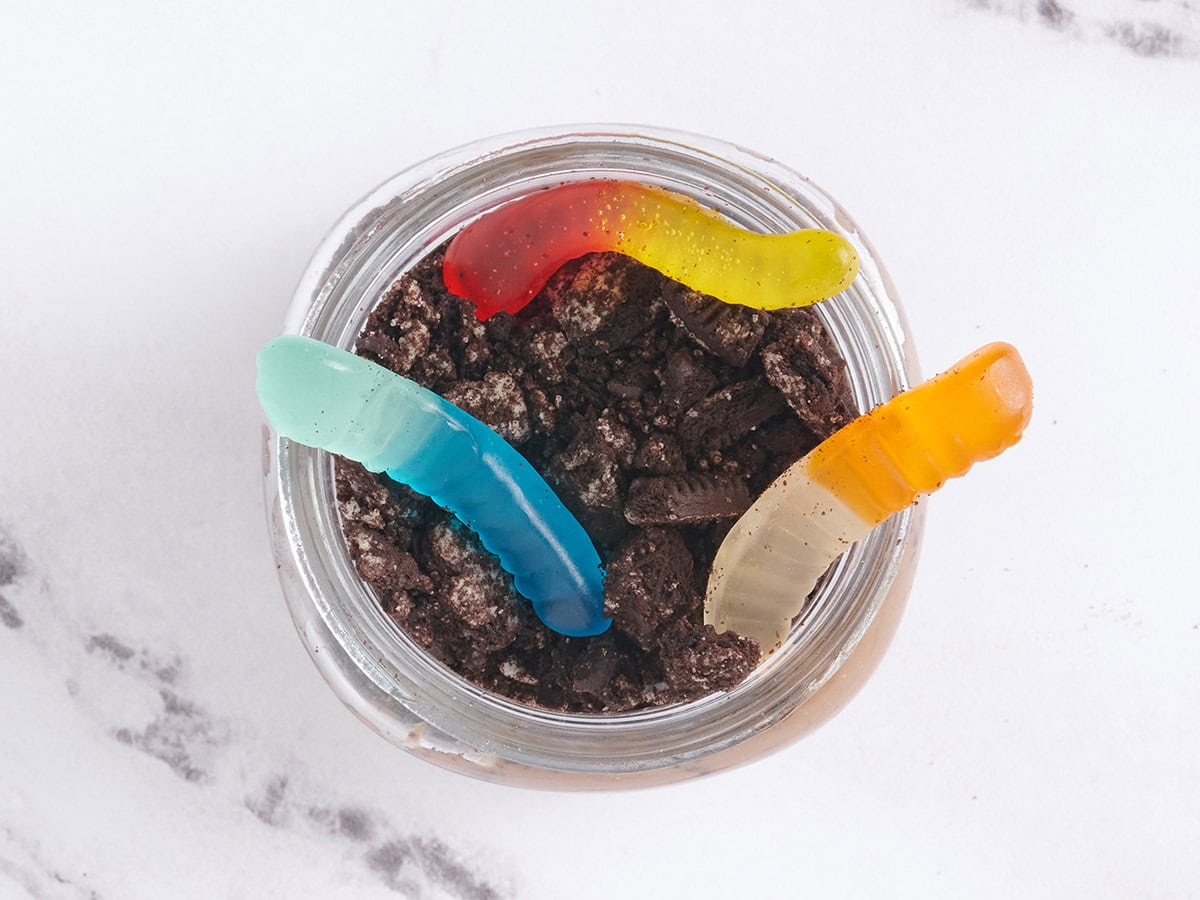
Finish with some gummy worms so they look like they’re crawling out of the “dirt.” Serve and enjoy!
Storage & Make Ahead Instructions
You can make the homemade chocolate pudding up to 2 days ahead of time. Store it in the fridge, covered with plastic wrap, until you’re ready to use it. You can also crush the cookies and keep them in an airtight container at room temperature. Assemble the worms in dirt just before serving so the crumbs stay crunchy.
If you do have leftover dirt cups after assembling, they can be kept in the fridge for up to 2 days (loosely covered in plastic wrap). They’ll keep for up to 2 days, but the cookie layer will soften over time.