
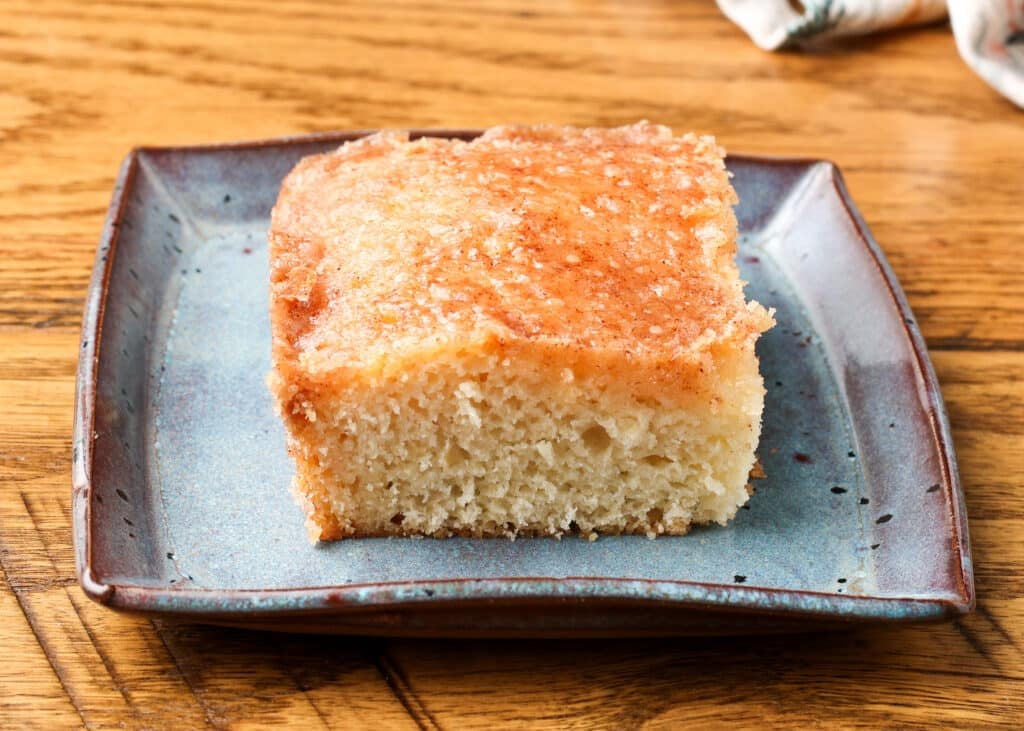
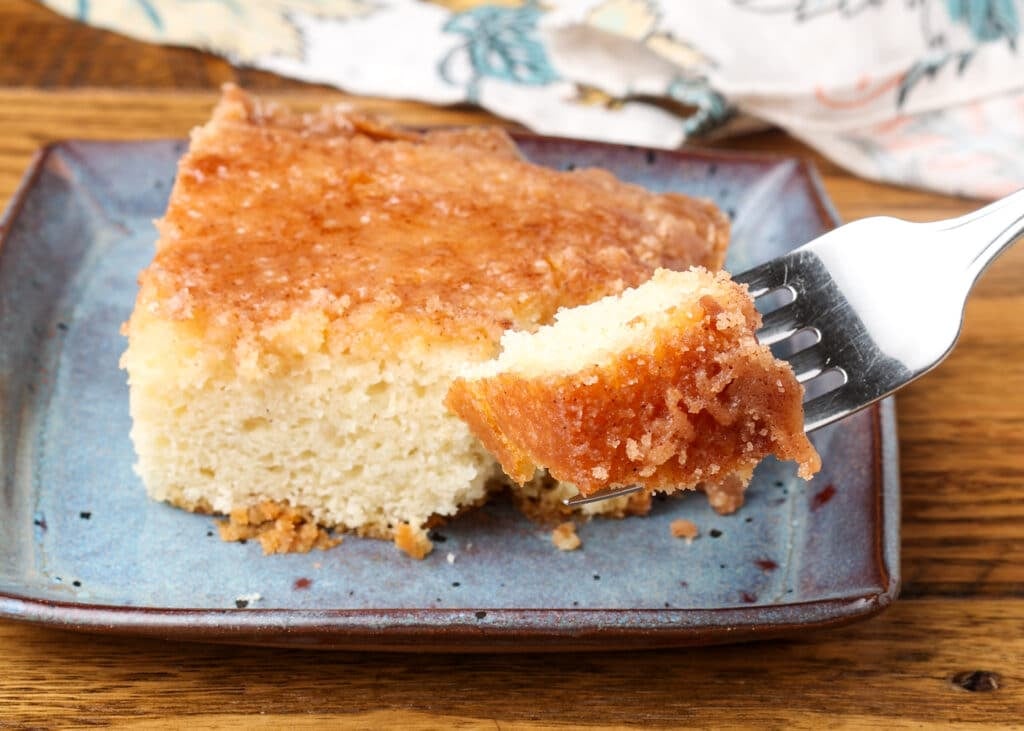
With a flavor like buttery cinnamon rolls and a topping that has the perfect crunch of cinnamon toast, this Cinnamon Toast Cake is an awesome surprise. I’ve had this cake for breakfast, an afternoon snack, and a late night dessert. And, I can tell you, it’s a hit at any time of day.
With just a few ingredients that you likely already have in your pantry, this simple unassuming looking cake has been one of my favorite desserts for a very very long time. I love this cake so much that we also make it in as cinnamon toast bars for feeding a crowd. And, it was pretty much a done deal that I’d be making a Cinnamon Toast Crunch ice cream, too. Your girl has a type, ok?

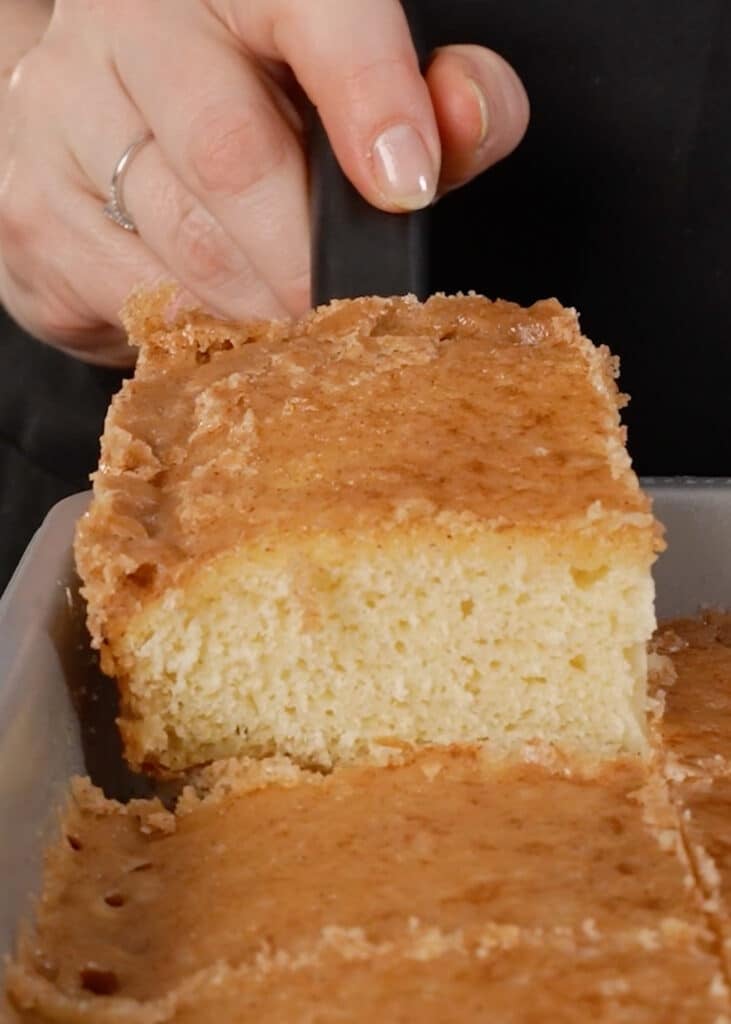
I made this cake for the first time when I was a little girl. The name just leapt right off of one of my mom’s yellowed 3×5 cards, and I knew I had to try it. It was love at first bite. The tender crumb, with a warm, crunchy cinnamon toast topping is positively divine.
I’ve been making this cake for more years now than I should probably even admit, since I started making it when I was about 10 years old.
So, when it came time to pick desserts for my first cookbook? It was a foregone conclusion that I just had to include it in The Weeknight Dinner Cookbook. I fell in love with it all over again.
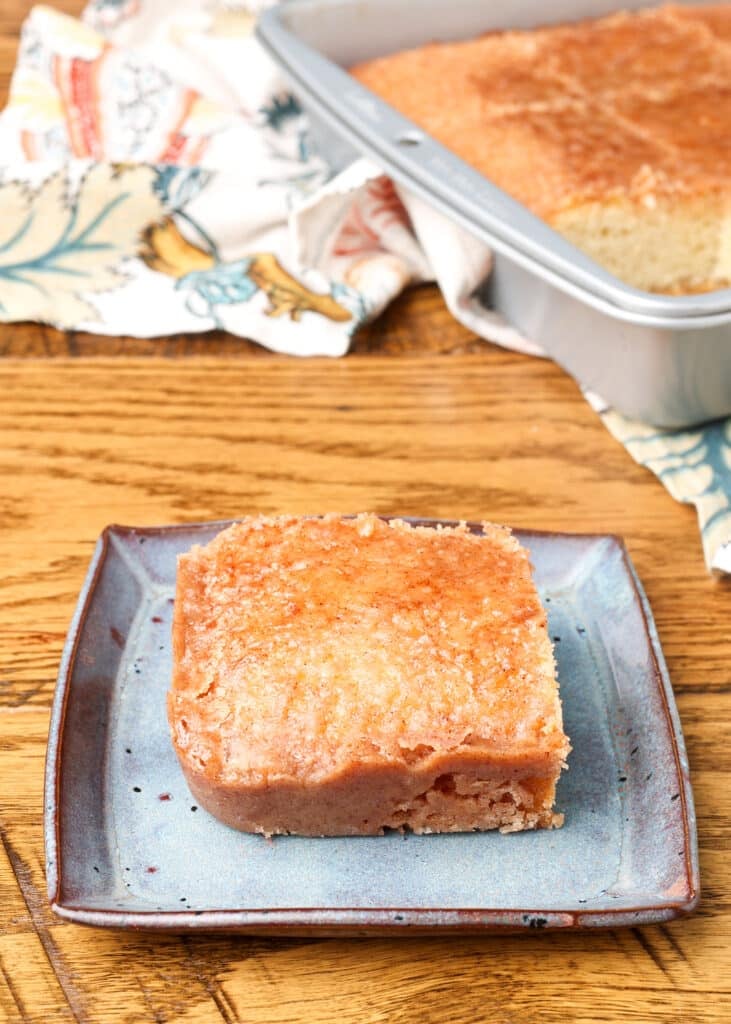
This cinnamon toast cake never fails to impress our guests, whether I serve it with a scoop of ice cream after dinner, or a hot mug of coffee for breakfast. One bite is all it takes. Try it, and you’ll see why so many of my fellow bloggers have shared the recipe. It’s just that good.
Thanks, Mom!
Flour — This recipe calls for two cups of all-purpose flour. Check the tips section if you need a gluten free adaptation.
Cinnamon and Sugar — These are the quintessential aspects of cinnamon toast, and this cake nails the balance. I use ground cinnamon from my spice cabinet and I almost always buy ours at Costco. However you can feel free to be as fancy as you like with yours.
Vanilla — Do you ever notice how pretty much all baked goods include vanilla extract? We include it because it adds warm notes, and helps to highlight flavors in the other ingredients. So, no, this isn’t a vanilla cake. But, don’t skip this ingredient.
Dairy — I always use whole milk and unsalted butter when I’m baking. For a dairy-free version, check the FAQ.
Baking Powder — You can use baking powder on its own. But, did you know that baking soda needs baking powder to fully activate? My eldest son once made this cake with baking soda instead of baking powder. My boys called the result “a cinnamon toast brick.” So, don’t do that.
Salt — I use kosher salt all the time in my kitchen, unless otherwise noted
Preheating the Oven: Let’s get things started by preheating the oven to 350°F.
Greasing the Pan: You’re going to need to grease a square cake pan. I use a 10×10 for this recipe. And, I’ve finally just accepted that I really don’t like having to scrub butter off of my hands. So, I use disposable gloves for this step. Worth every penny.
Whisking the Dry: I measure the flour, sugar, baking powder, and salt into a large mixing bowl and give it a quick whisk.
Stirring in the Rest: Two tablespoons of butter go into the microwave to melt. Reserve the rest for the topping. Add the melted butter, the milk, and the vanilla into the mixing bowl, and whisk to combine.
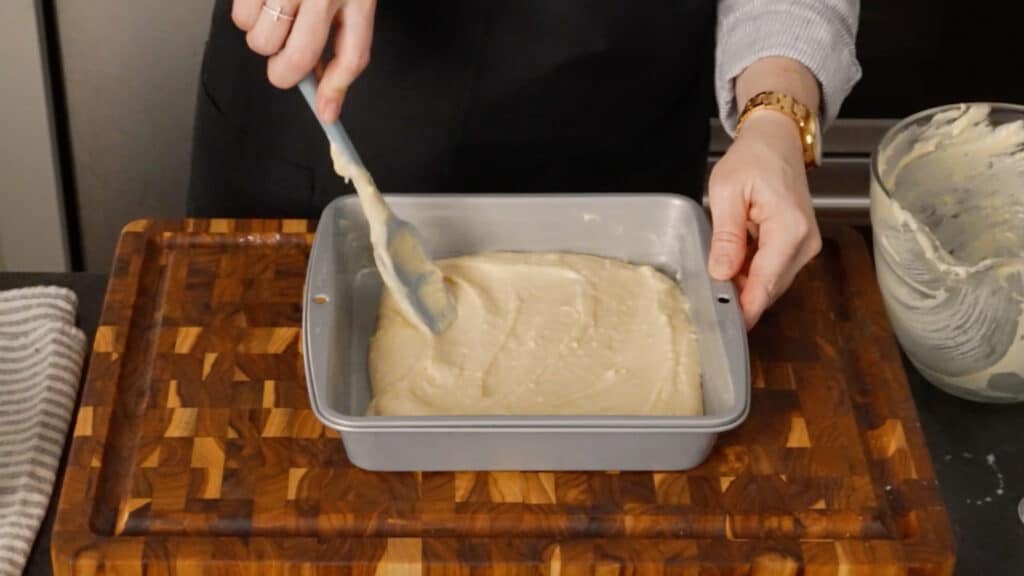
Baking: Once you’ve poured the batter into the greased pan, just set it into the oven and forget it for 25 minutes. Ok, well, don’t actually forget it. I use these kitchen timers for that. This recipe for cinnamon toast cake is pretty forgiving, but not THAT forgiving.
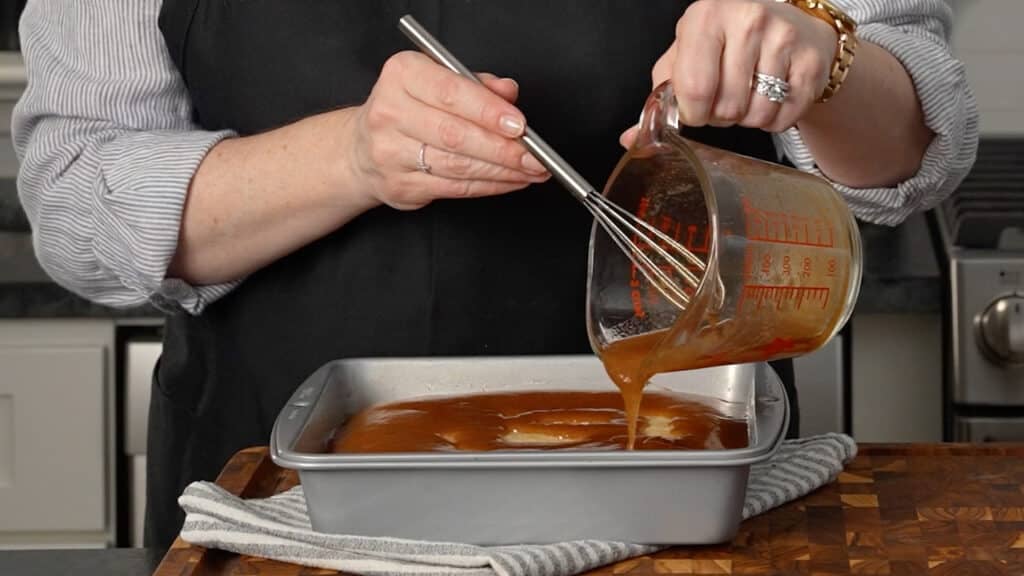
Preparing the Topping: While the cake is baking, you will want to whisk together the topping in a mixing bowl. It’s just cinnamon, sugar, and a stick of melted butter.
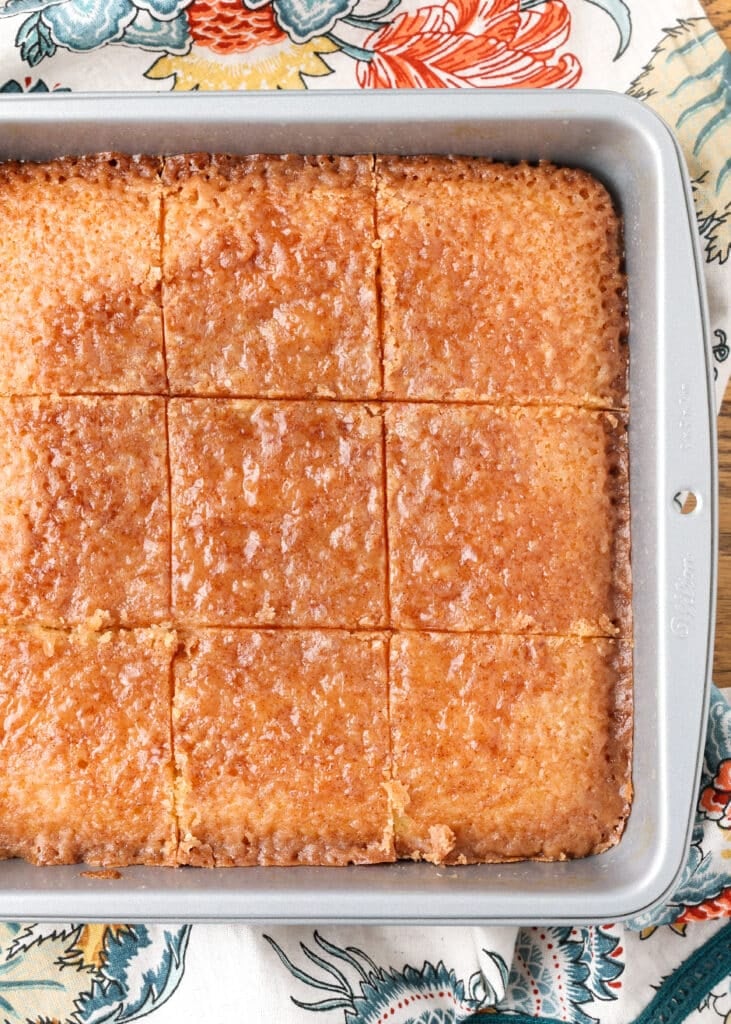
Pouring the Topping: After the 25 minutes are up (and you’ll know, because you definitely didn’t forget to set a timer!), pull the baking pan from the oven. Then, I gently pour the topping over the cake.
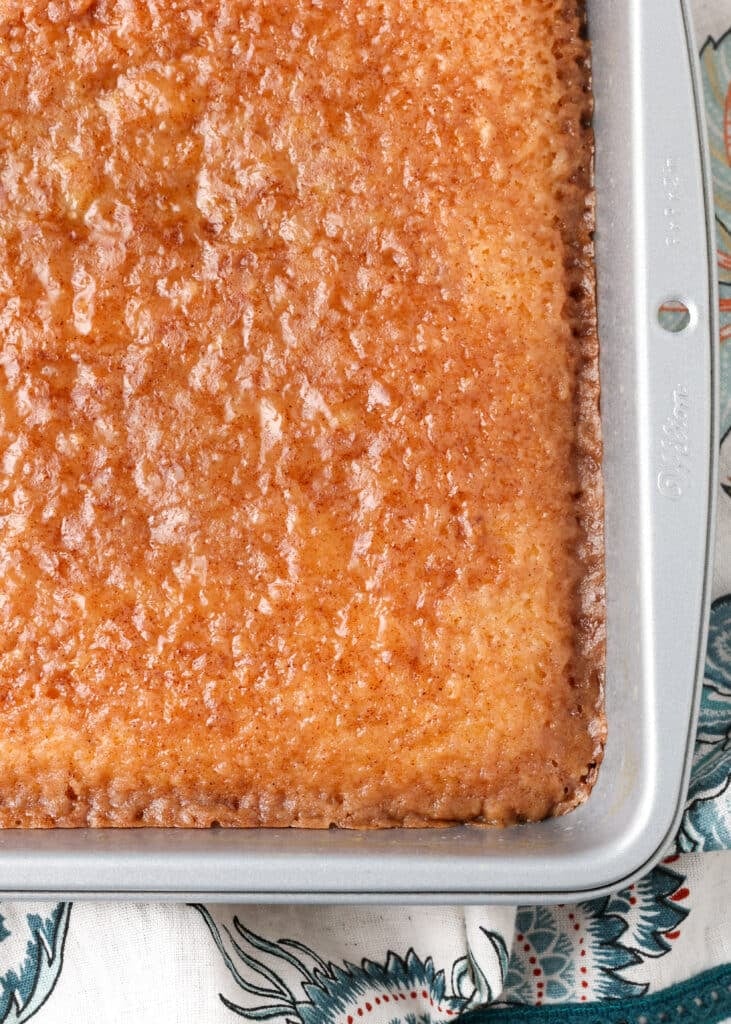
Final Round of Baking: You’ll return the cake to the oven and bake for another 10 minutes or so, until the cinnamon layer is bubbling. Let it cool, then serve!
This is an eggless cake. And, that means it is going to get its rise and structure from the leavening agent (baking powder) and the air that you trap in the batter. So, you are going to want to beat the cream and sugar well. But, whatever you do, don’t over whisk the batter, or you’ll overdevelop the gluten and you’ll end up with a dense cake. You want to stop whisking as soon as it is fully incorporated, and there are no more streaks of flour in the batter.
Pour Some Sugar – When you’re pouring the topping over the hot cake, make sure to drizzle the edges and corners first, and then go lightly across the middle. If you just pour it out in the middle, sometimes it can make your cake fall slightly. Still delicious. But, not as pretty.
Melt, Then Cool – When you melt the butter to mix into the cake, make sure to let it cool down after heating. This is also just a good rule of thumb, as adding scalding butter to your batter can upset some of the other ingredients.
Be Cool, Hunny Bunny – If you plan to serve the cake immediately after baking, it’s especially important to wait 5-10 minutes before serving. The cinnamon topping will set as it cools. Cutting prematurely can make it run.
Gluten-Free Option – I spent years developing gluten-free recipes when one of my children developed a sensitivity to gluten. (Thankfully, he’s outgrown that sensitivity.) And, the best substitute for this recipe is 1¼ cup brown rice flour, ½ cup tapioca starch, and ¼ cup potato starch. But, you can swap for a 1:1 gluten-free flour blend that you trust.
This cake goes pairs wonderfully with so many different options. For a summer potluck, just add fresh fruit, like this watermelon fruit salad or my rainbow fruit salad. The cinnamon crust with cold, juicy fruit is a combination you’ll love.
And, if I’m blessed to be eating this for breakfast or brunch? All I need is a mug of my cafe con leche with a warm square of cake on the side. That’s the move.
Make Ahead: Yes, this cake can be made the day before you need it. It keeps very well overnight.
How to Store: This cake can be stored in an airtight container on the counter or in the fridge for several days. And, if you wrap the servings individually and store them in a freezer bag, they can go be frozen for two months, no problem.
You can use whatever 1:1 GF flour you prefer. But, I have my own tried and true GF flour blend listed in the expert tips section that works beautifully for this cake.
Certainly. I’ve found that almond milk and vegan butter or coconut oil work well as substitutes with this cake. But, I prefer coconut oil, as I dislike the taste the vegan butter.
You could split the batter into two loaf pans, if you wanted. But, the full recipe is too much batter for a standard loaf. It will overflow and then you’ll be scraping blackened cake batter off the bottom of your oven. Ask me how I know.
{Recipe originally published 10/22/2011 – photos and recipe card updated 4/23/2026}


I made this tonight and not only did the house smell wonderful, we couldn’t stop eating it! So simple and so delicious. When it was warm, my daughter thought it tasted like a mini-donut.
– Kristen